I was using excalidraw.com before most people had heard of it. Web architecture, business plans, rough product diagrams, the hand drawn aesthetic made complex things looks way approachable, and the tool itself was fast enough to keep up with my thinking.
Then I hit the limit as usual.
Multiple canvases required a paid subscription. Reasonable pricing – probably life changing if you’re using it seriously enough to justify it. But I wasn’t ready to commit though, so I stayed on one canvas, cramming more into it than made sense.
Then I found the Excalidraw plugin for Obsidian. (life changer)
Now I create as many canvases as I want, store them directly in my vault, and attach them to the notes they belong to.
Alright, here’s how to get set up.
What Excalidraw Does Inside Obsidian
The Excalidraw plugin for obsidian brings the full Excalidraw whiteboard into your vault as a community plugin. You can create as many drawings as you want – each one saved as a file in your vault.
Drawings and notes link to each other bidirectionally: a note can display an embedded drawing, and elements inside a drawing can link back to notes in your vault.
Every drawing is stored as a plain .excalidraw file, readable and portable like any other file in Obsidian. The plugin is free, maintained by a solo developer, and has over 6 million downloads.
Step 1: Install the Plugin
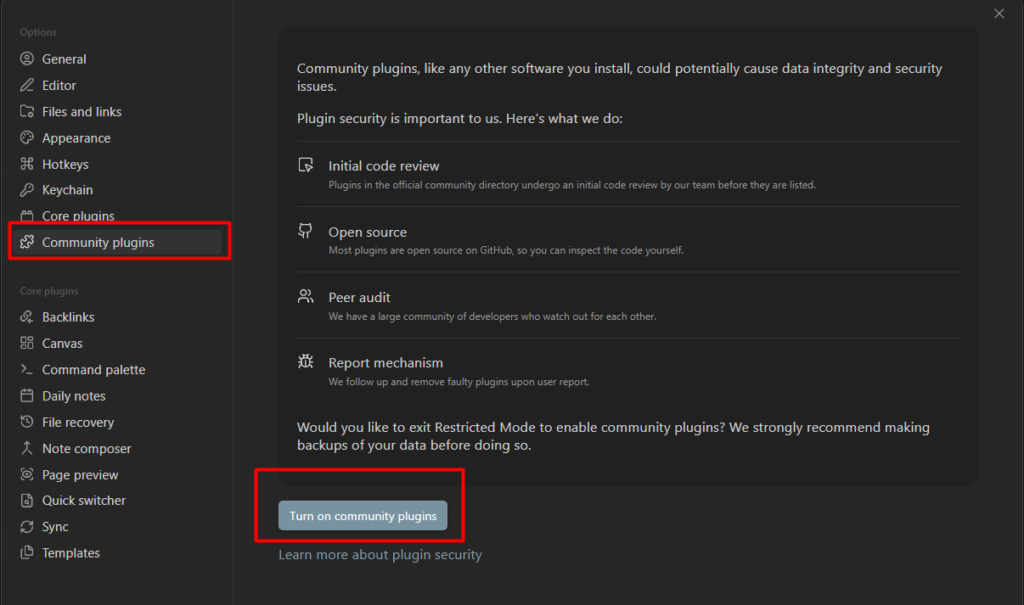
- Open Obsidian and go to Settings (gear icon)
- Click Community plugins in the left sidebar
- If Safe mode is on, click Turn on community plugins to disable it
- Click Browse, then search for
Excalidraw - Click Install, then Enable
That’s the whole install. The plugin adds an Excalidraw icon to your left ribbon (a pencil-on-square icon) and a set of commands accessible from the command palette.
Step 2: Create Your First Drawing
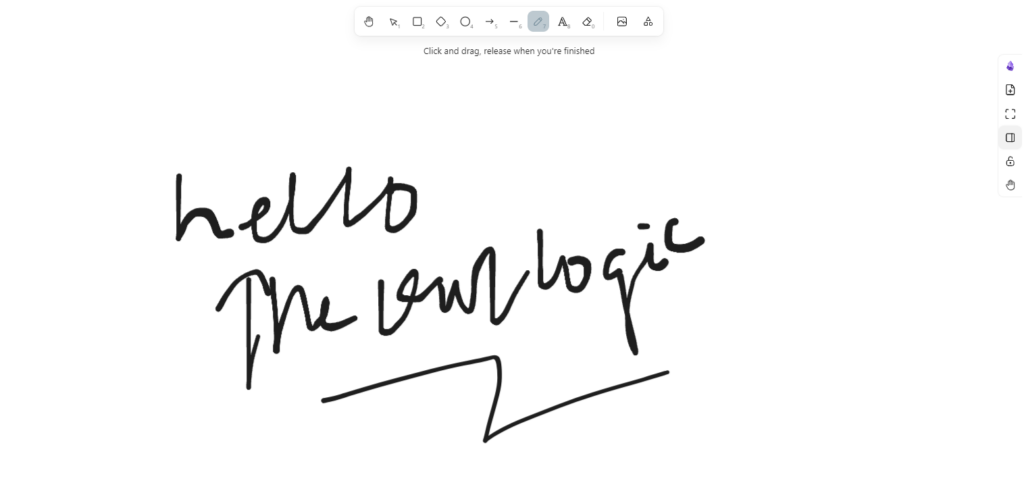
Open the command palette with ctrl + p (Windows/Linux) or cmd + p (Mac) and type Excalidraw. You’ll see several commands. The two you’ll use most often.
- Excalidraw: Create new drawing – opens a blank cavas as a standalone file
- Excalidraw: Create new drawing and embed into active document – creates the drawing and drops an embed link into whatever note you have open
If you’re starting fresh with no particular note in mind, use the first. If you’re inside a note and want a diagram attached to it, use the second.
The canvas itself works exactly like excalidraw.com. the toolbar at the top gives you a selection hand (for panning), rectangle diamond, ellipse, arrow,link, draw (freehand), text, and images.
Hold Space and drag to pan. Scroll to zoom. Double-click anywhere on the canvas to add text directly.
Read Here: How to Organize Your Obsidian Vault
Step 3: Embed a Drawing Into a Note

When you use the “embed into active document” command, Obsidian automatically inserts this into your note.
![[Your Drawing.excalidraw]]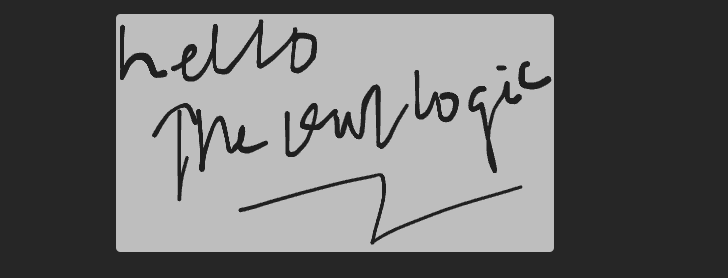
That’s a standard Obsidian embed. In reading mode, it renders the drawing inline – live, at full resolution.
Switch bar to the drawing, make a change, save and the embed in your note updates.
you can control the display width by adding a pixel value though
![[Your drawing.excalidraw|600]]This renders the drawing at 600px wide – useful when you’re embedding alongside text and don’t want the diagram taking over the whole note.
If you created a standalone drawing and want to embed in into a note after the fact, just type ![[ in any note, start typing the drawing’s filename, and select it from the autocomplete list. Same as embedding any other file in Obsidian.
Linking From a Drawing To a Note
This is the feature that makes the Obsidian plugin genuinely different from excalidraw.com
inside any drawing, you can make an element link back to a note in your vault. Select any shape or text element, then open its link field by pressing ctrl + k. Type the note name in the wiki format: [[My Note]]. Save.
In reading mode, that element becomes clickable. Clicking it opens the linked note directly in Obsidian.
This actually turns a diagram into a navigation layer. Draw a system architecture, link each component to the note that documents it. Draw a business plan, link each section to the relevevant project note.
The diagram and the the thinking behind it are now connected things – not two separate files you have to keep in sync manually.
What to Actually Use It For
The blank canvas question – I literally installed it as you said, now what? – is the place where most people stall. A few things that work well.
Workflow diagram before you build them
Before setting up a new automation or planning a project structure, sketch the flow in Excalidraw first. It’s faster than writing an outline and easier to rearrange. Once the flow is clear, build it. The diagram stays attached to the project note as a reference. So literally how I plan a n8n workflow though.
Business and Content Planning
Hub and Spoke content maps, product positioning diagrams, audience mapping similar to ICP. Anything where the spatial relationship between ideas matters more than the words used to describe them.
Quick Visual Thinking
Sometimes the fastest way to understand something is to draw it. Boxes, arrows, labels. I do these a lot, a lot.
Obsidian saves my visual thinking as like to think out loud on a canvas.
One Setting Worth Changing
Go to Settings > Excalidraw and then search for SVG Ex, you’ll see Auto-export SVG and make sure to enable it.
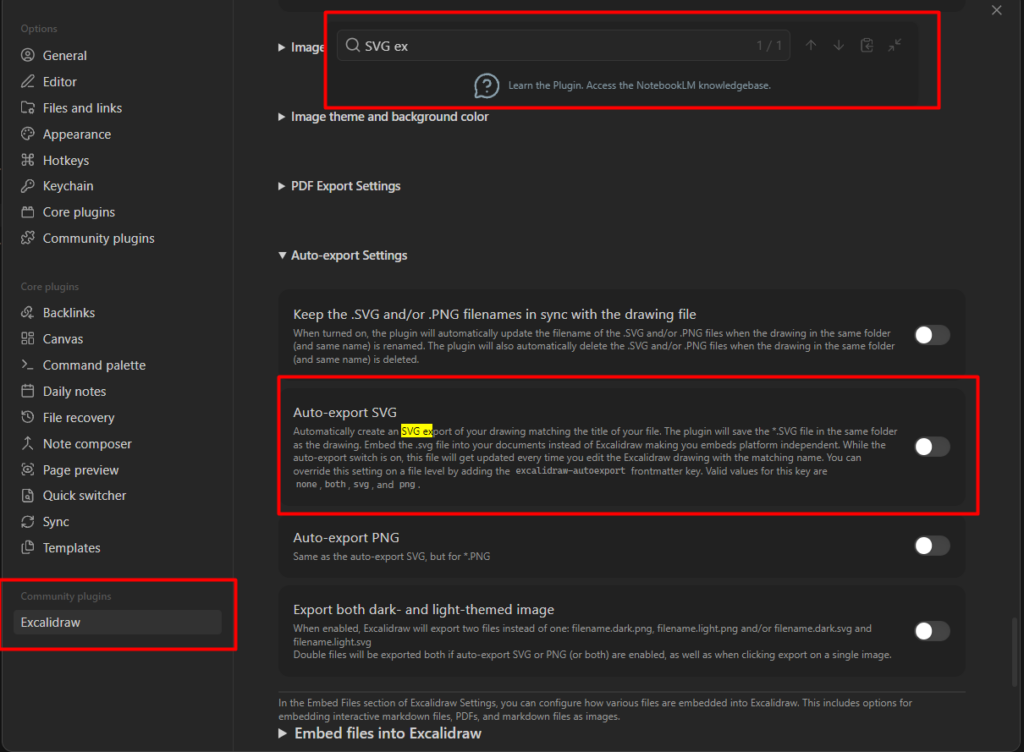
With this on, every time you save a drawing, Obsidian automatically creates a .svg file alongside it. That SVG is a static image you can use anywhere – paste into a blog post, share it with someone who doesn’t use Obsidian, or embed it on note with ![[draw.svg]] for faster rendering.
It’s off by default. Turn it on early and you’ll have a clean exports of everything you draw without any extra steps.
Leave a Reply