When I was figuring out what The Owl Logic would be, I kept running into the same question, what is this blog, exactly?
It covers n8n automation. But also productivity. Obsidian. Solo building. Digital tools.
The occasional thing I’m genuinely curious about and want to understand better by writing about it.
That doesn’t sound like a niche. And honestly, it isn’t, not in the traditional sense.
The Owl Logic is a personal brand blog.
Everything here connects back to how I think, what I’m building, and what I’m learning. The thread isn’t a topic.
It’s a perspective.
I made that call deliberately.
And if you’re about to start a blog and stuck on this same question, this is the clearest breakdown I can give you, what each approach actually means, what it costs you, and which one fits where you are right now.
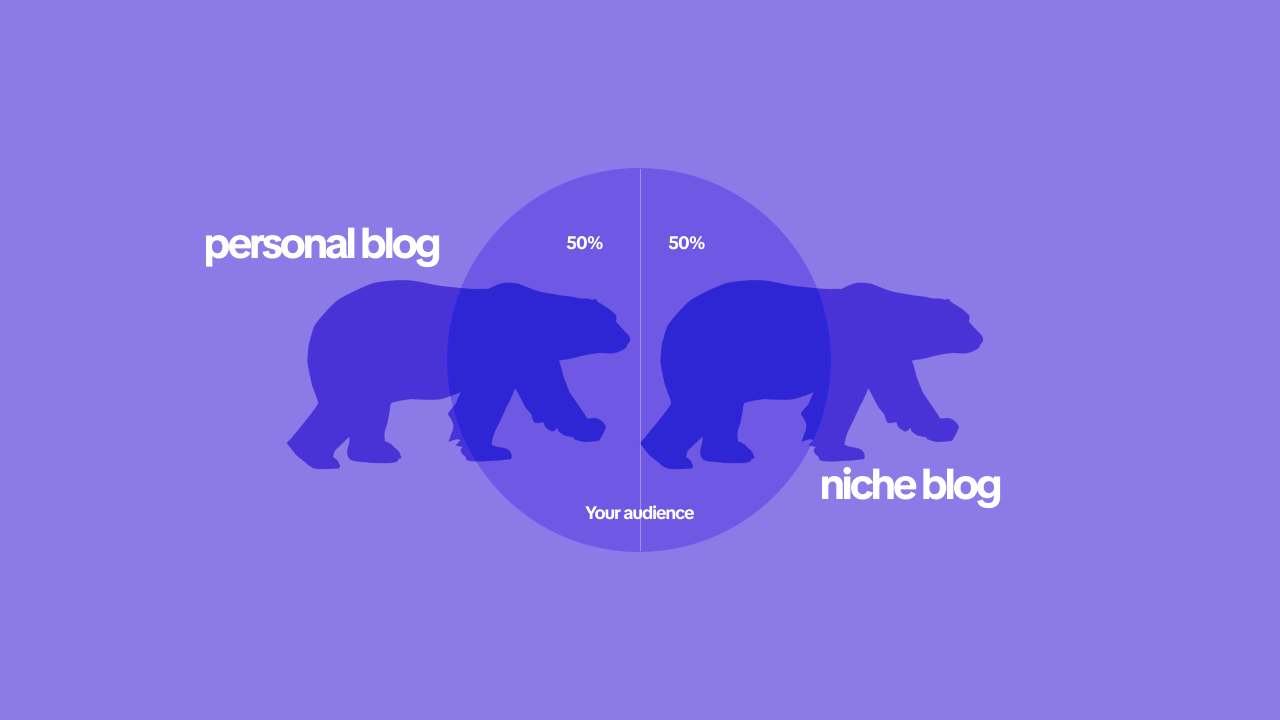
What’s the actual difference?
A niche blog is built around a subject.
The subject is the brand.
Someone searching for “best espresso machines under $200” lands on your coffee gear blog, reads your review, maybe buys through your affiliate link.
They don’t care who wrote it. They care whether the answer is right.
A personal brand blog is built around a person – their expertise, their perspective, their voice.
The subject can shift as long as the person stays consistent. Readers follow you, not just the topic.
That’s the real split. Not how long the articles are, not the monetization method, not even the domain name. It comes down to: is the blog about a subject, or is it about a point of view?
Both work. But they work differently, and they fail differently.
The case for a niche blog
If you want the fastest path to search traffic, a niche blog has a structural advantage.
Google’s ranking systems reward topical authority (as per my experience, I’ve seen it), the idea that a site covering one subject deeply is more trustworthy on that subject than a site that covers many things loosely.
A blog that only writes about home espresso equipment will outrank a lifestyle blog’s espresso article almost every time, even if the lifestyle blog has more total traffic.
Niche blogs are also easier to monetize early.
Affiliate programs are topic-specific.
Display ad RPMs vary by niche, finance and software blogs earn more per thousand visitors than general interest blogs.
If revenue is the primary goal and you’re starting from zero, a well-chosen niche gives you a tighter line between content and income.
The tradeoff is real though.
You’re staking the brand on a subject staying relevant, staying interesting to you, and staying within the boundaries you defined when you started.
That works often enough. But when it doesn’t, when the topic shifts, when you burn out on it, when a platform change kills your traffics – you’re rebuilding from scratch.
The brand didn’t transfer. The audience followed the subject, not you.
The case for a personal brand blog
The Owl Logic covers automation, productivity tools, solo builder mindset, Obsidian, Blogging, marketing, workflows, and whatever else I’m genuinely working through.
Those aren’t random.
They’re all connected by the same underlying logic: thinking clearly, building things that work, and not wasting time on complexity you don’t need.
That’s the niche, in a sense, but it’s expressed through a perspective, not a subject boundary.
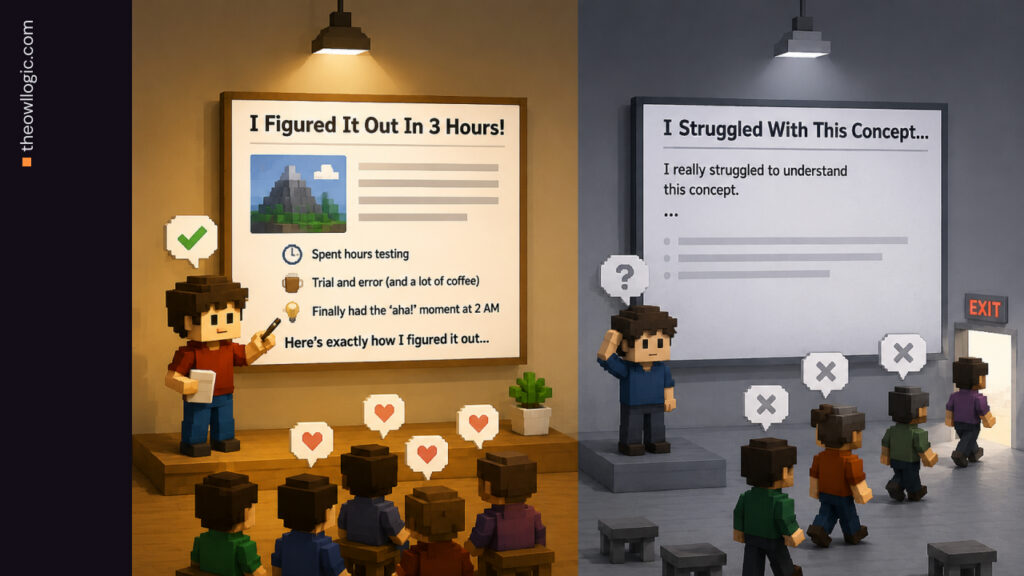
This is what personal brand blogs actually are when they work. Not “I write about whatever I feel like.” More like: every post is a different angle on the same set of problems I care about.
The reader follows because they trust how you think, not just what you know about one thing.
The big advantage is flexibility.
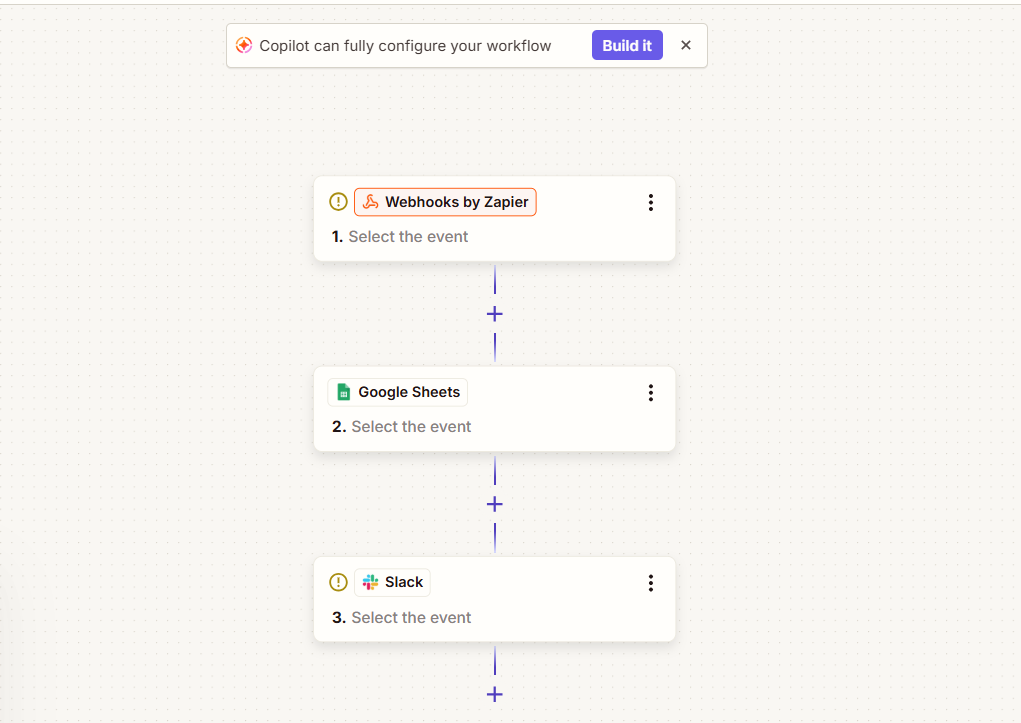
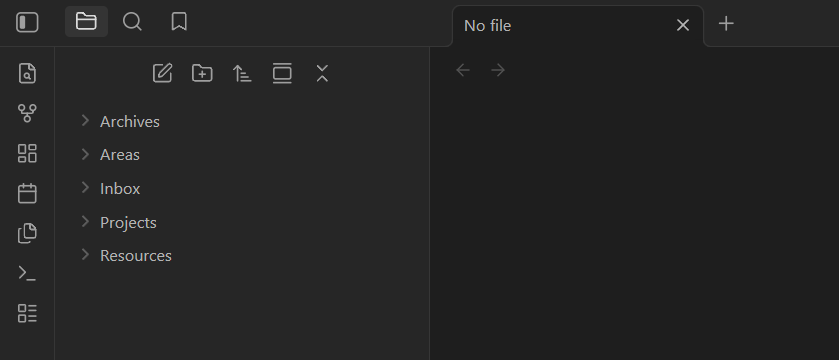
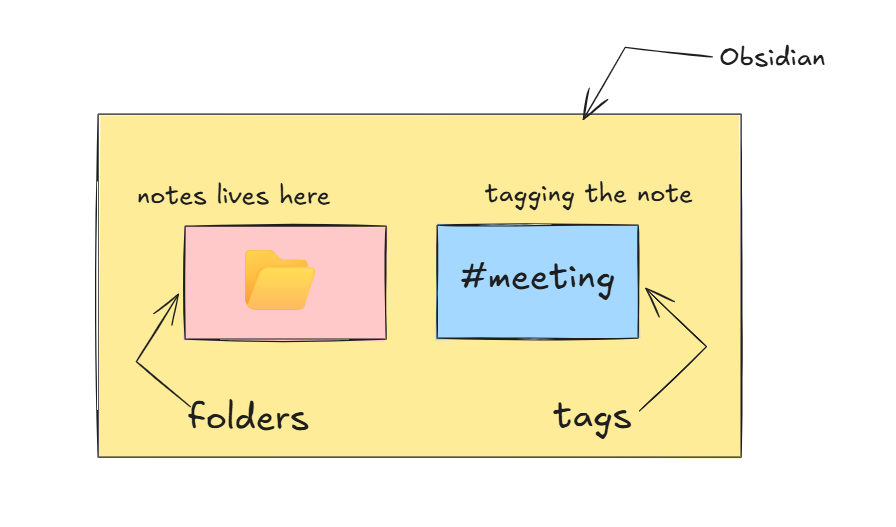
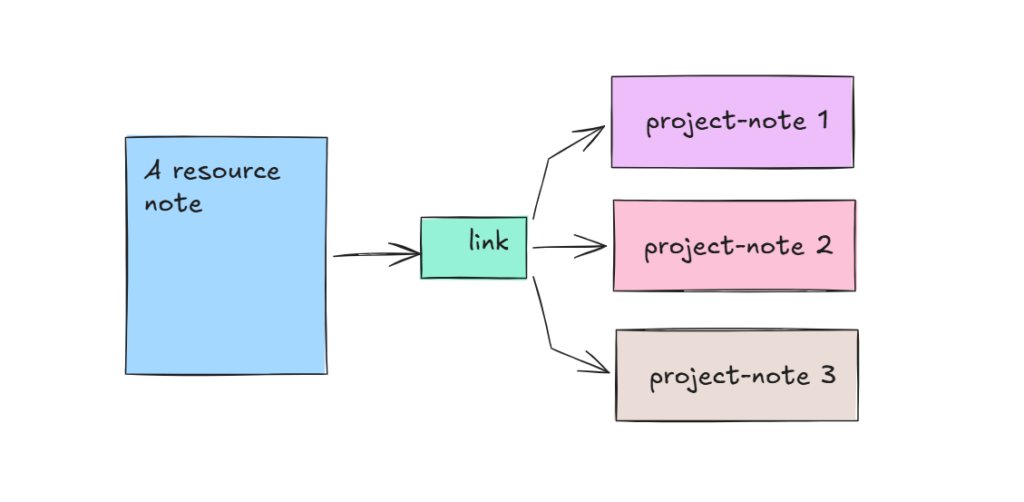
When I started covering Obsidian alongside n8n, that wasn’t a pivot, it was natural.
Both tools are about building better thinking systems.
The audience didn’t blink because the connection was obvious.
A niche blog can’t do that cleanly. Adding a new subject area on a niche site feels like a category mistake.
On a personal brand blog, it’s just the next thing you’re into.
The tradeoff here is that it takes longer to build. You’re not just building topical authority – you’re building trust in a person.
That requires consistency of voice and a genuine point of view that readers can identify and return to. You can’t fake that with volume.
What actually matters when you’re choosing
Here are the three questions worth answering honestly before you decide,
Do you have a strong, specific point of view ?
If you have a defined expertise in one area and you’re not sure yet if you want to be “the face” of something, start niche.
If you have opinions that cut across multiple areas and you naturally connect things other people keep separate, personal brand fits better.
How do you feel about content boundaries?
Niche blogs require discipline.
You can’t write the interesting tangent just because it’s interesting to you.
Personal brand blogs reward curiosity. If staying on-topic feels like a creative constraint you’d constantly fight, a niche blog will exhaust you.
What’s your timeline for results?
Niche blogs can rank faster because topical authority compounds quickly in a tight domain.
Personal brand blogs often take longer to gain traction because you’re building trust in a person, which requires more exposure.
If you need results in 6 months, niche is more predictable. If you’re building something for 3–5 years, personal brand has more ceiling.
The mistake most people make
They treat this as a permanent, irreversible choice.
It isn’t.
A niche blog can evolve into a personal brand blog as the writer develops a recognizable voice.
A personal brand blog can narrow into something more niche-focused if the writer finds their strongest topic over time.
Tim Ferriss started with “4-hour” everything, productivity hacks, body optimization, learning systems. That’s a niche. It evolved into a personal brand because his voice became the draw.
What you can’t easily do is go from broad and unfocused to anything coherent. “Personal brand” doesn’t mean “I’ll write about whatever.”
It means your perspective is consistent enough that readers can predict how you’ll approach new topics, even ones you haven’t covered yet.
The Owl Logic works as a personal brand blog because everything here comes from the same operating philosophy.
Remove that thread and it’s just a pile of unrelated posts. The thread is what makes it a brand.
Which one should you start?
If you’re building something you want to monetize quickly and you have a specific subject you can write about for two years without getting bored – start niche.
If you have genuine cross-domain expertise, a clear point of view, and you want the freedom to grow in directions you can’t fully predict yet – build a personal brand blog from the start.
And if you’re not sure? Start with a tighter focus than you think you need.
You can always expand outward. Expanding inward, trying to retrofit focus onto a scattered blog – is much harder.
The name, the domain, the design, those matter less than you think.
What matters is whether the first ten posts could only have been written by you.
If yes, you’re building a personal brand. If anyone with the same research could have written them, you’re building a niche site.
Neither is wrong. But knowing which one you’re building changes every decision that comes after it, what you publish, how you promote it, how you measure whether it’s working, and how you grow it when the initial strategy stops being enough.
Pick one, understand what it asks of you, and build accordingly.