Telegram is one of the best notification layers you can add to an n8n workflow. It’s Free, instant, and works on every device, and the bot API is genuinely simple to work with.
There are two ways people use it. Pushing messages out to Telegram from a workflow (alerts, reports, notifications), and receiving messages from Telegram to trigger a workflow. This post covers both + practical implementations that saves your time.
Before we dive into the workflows, you’ll need two things. a Telegram account, and n8n instance, If your just getting started, n8n cloud is the easiest choice and recommended – no server setup, and webhook work out of the box. If you’re self hosting locally, it takes a bit time to configuration, but don’t worry – I’ve covered those steps as well.
Step 1: Create Your Bot With BotFather
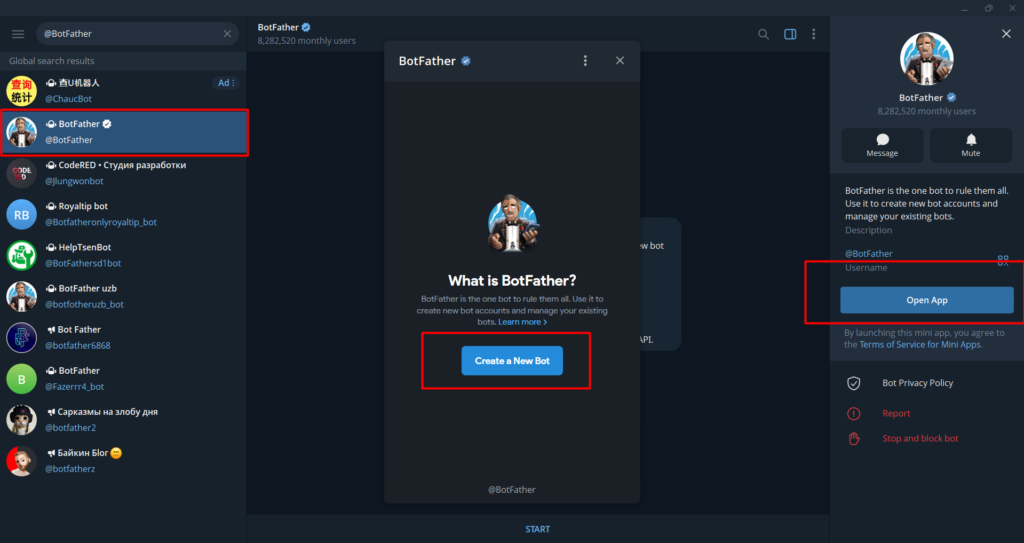
Every Telegram bot starts here. BotFather is Telegram’s official bot for creating and managing other bots.
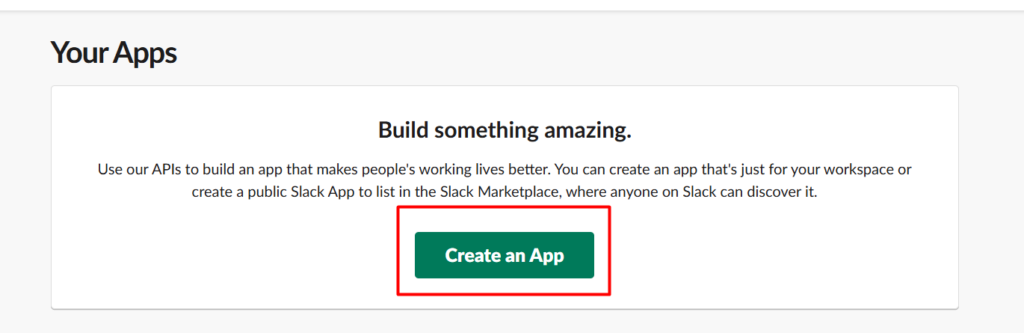
Open Telegram and search for @BotFather. Start a conversation and send /newbot or you can just click on Open App to Create a new bot.
BotFather will ask you two things
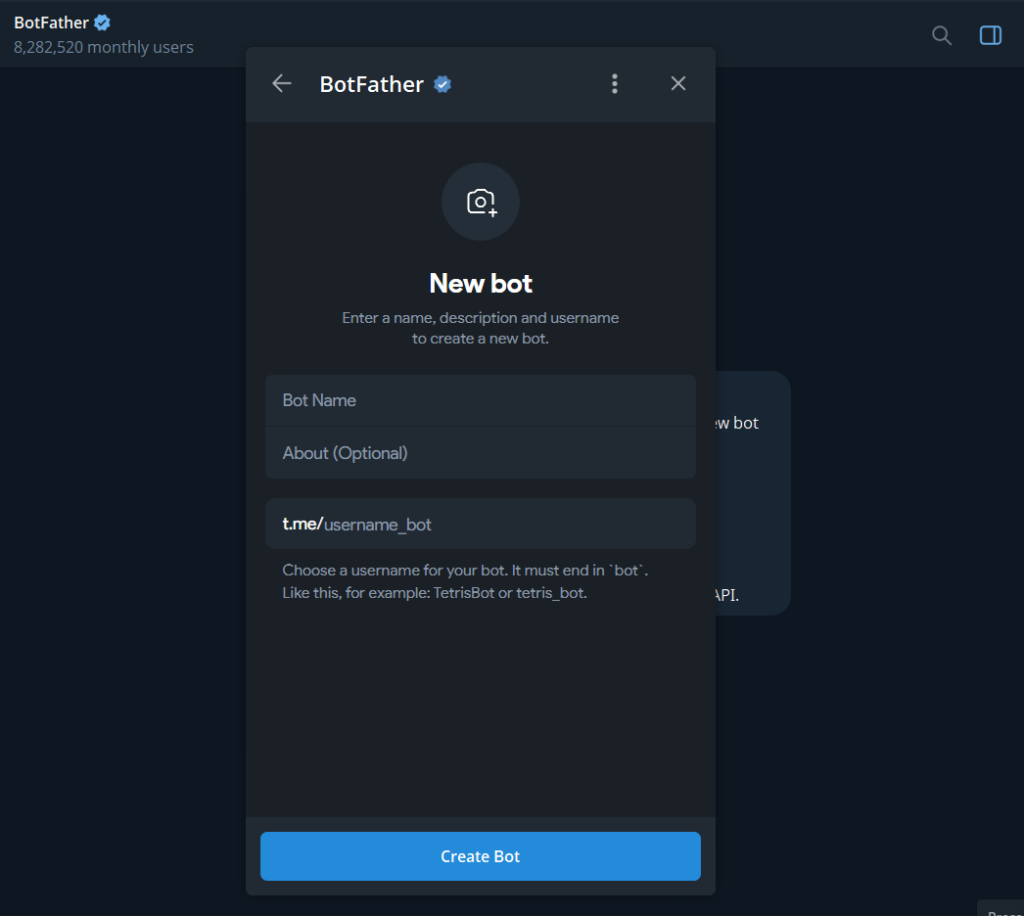
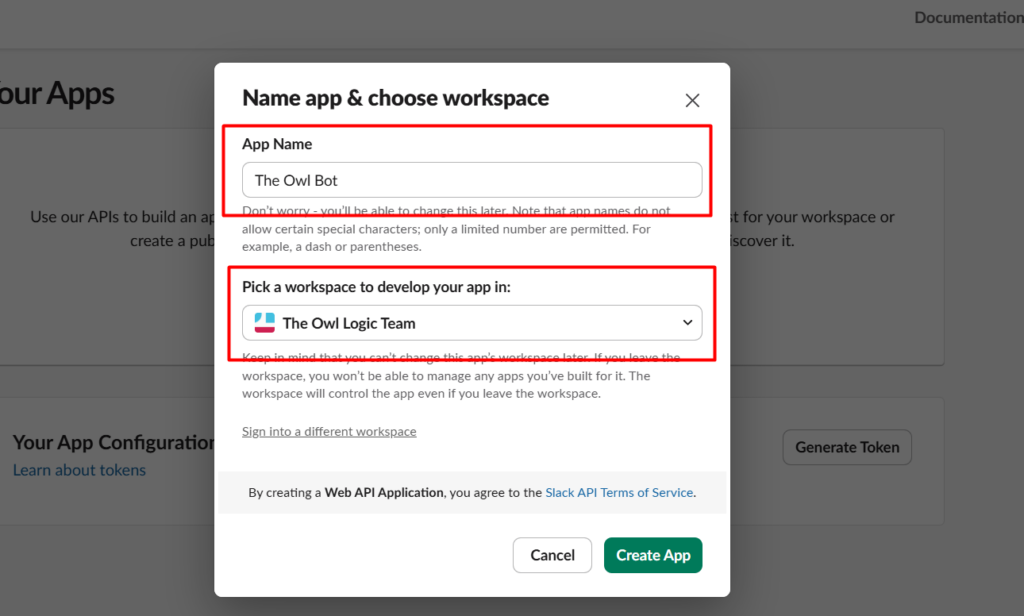
- A display name – This is what users see in the chat header. Can be anything. Example:
My n8n bot - A username – must be unique across all of Telegram and must end in
bot. Example:my_n8n_alerts_bot

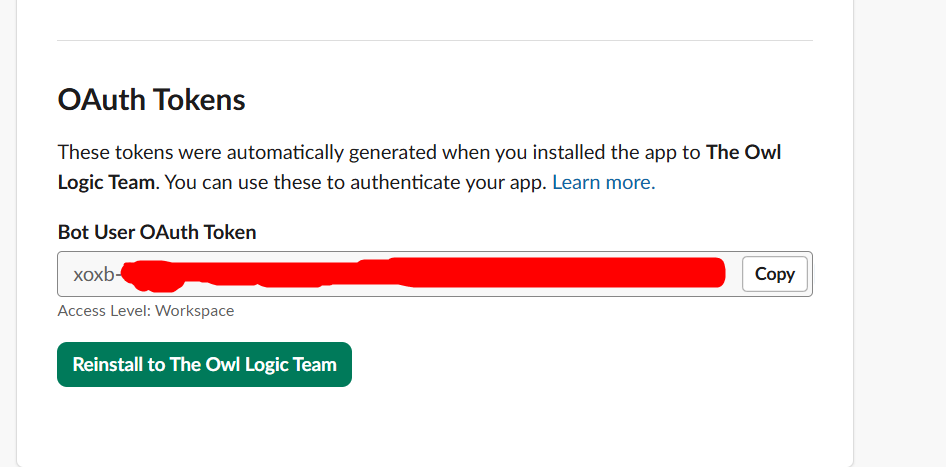
Once you confirm both, BotFather sends you a bot token that looks like this
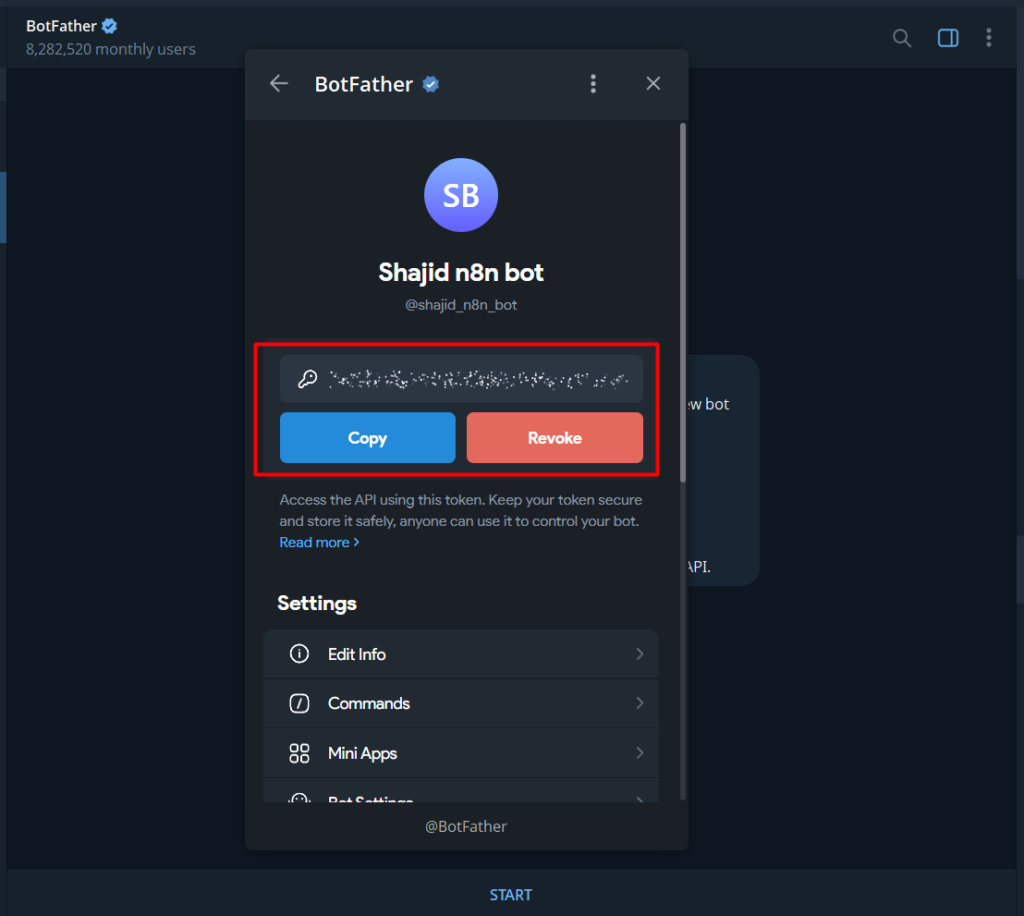
7512938401:AAFx9Kd2mNpQrTvWxYzAbCdEfGhIjKlMnO – This is for just an example.
Copy that token and keep it somewhere safe. You’ll paste it into n8n in the next step.
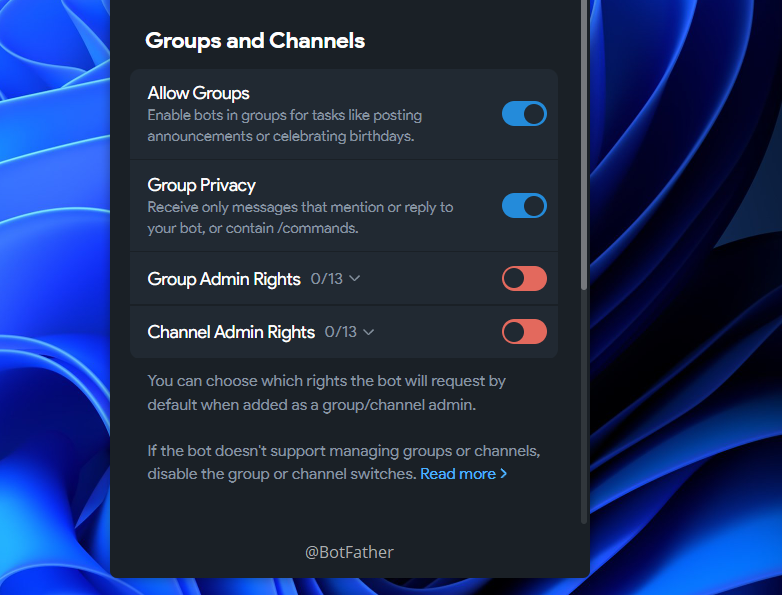
If you’re building a bot for group chat, do one more thing before leaving BotFather. Send /setprivacy, select your bot, then choose Disable. By default, Telegram bots in groups only receive messages that directly mention them. Disabling privacy mode lets the bot see all messages in the group, which is almost always what you want when building automation workflow.
Or else, you can directly to the Thread settings and just toggle it. Simple as pie. We cover all the methods 🙂
Step 2: Connect Telegram to n8n
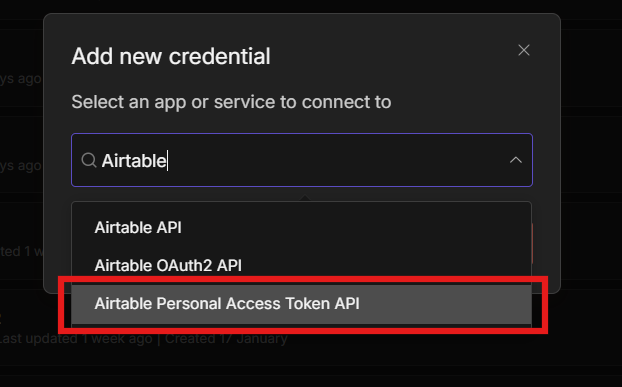
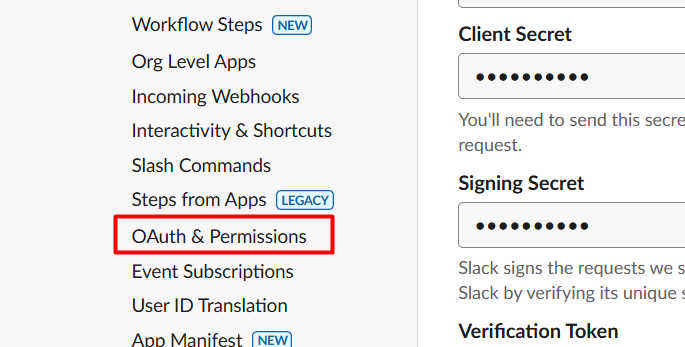
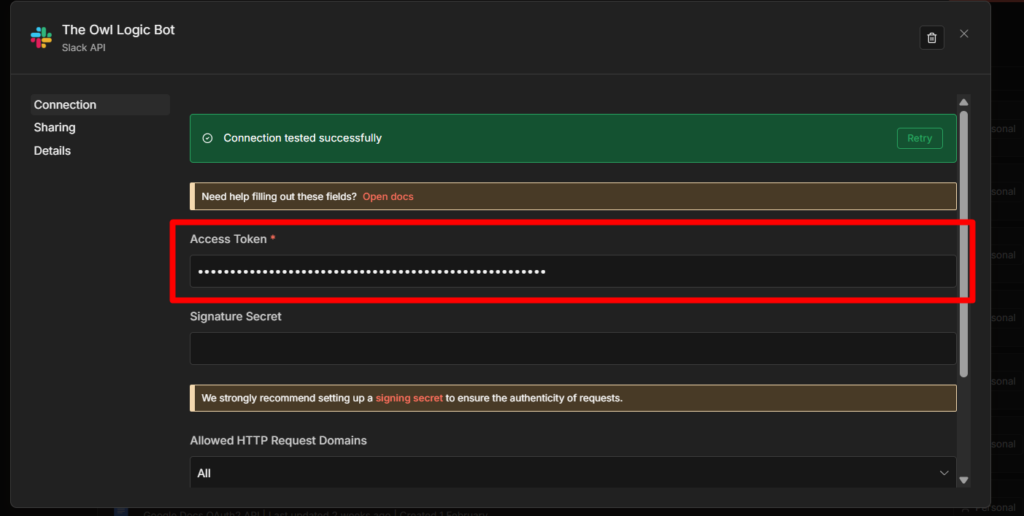
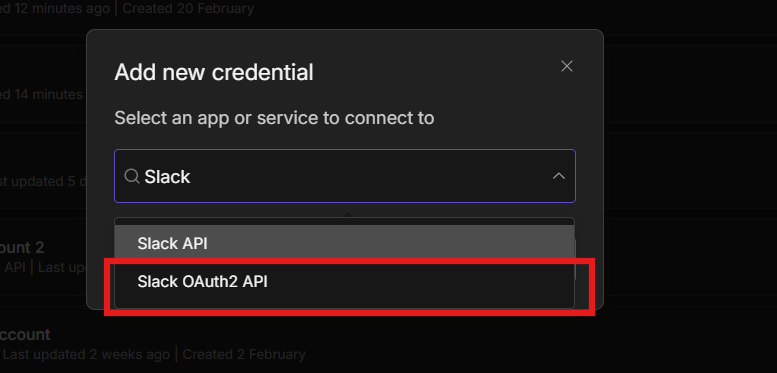
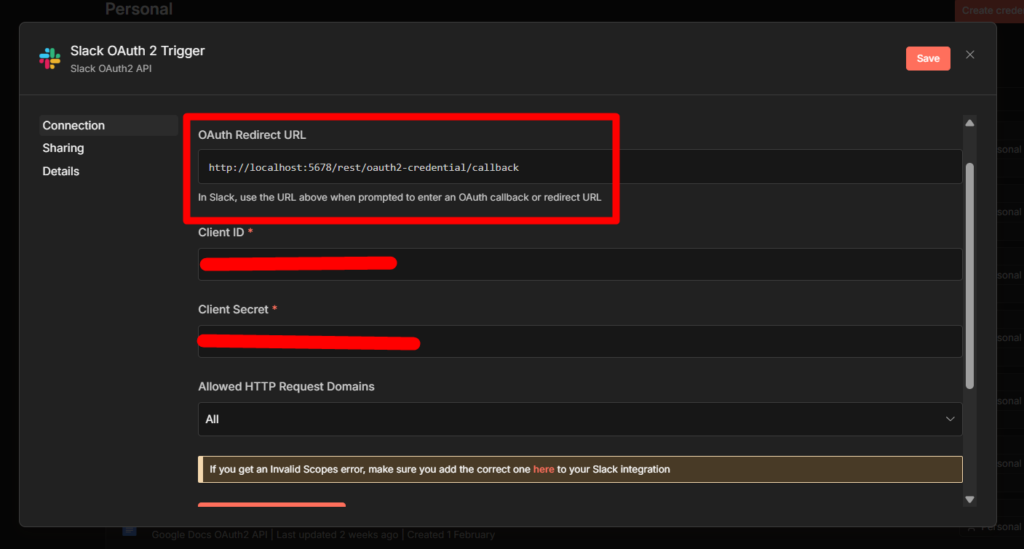
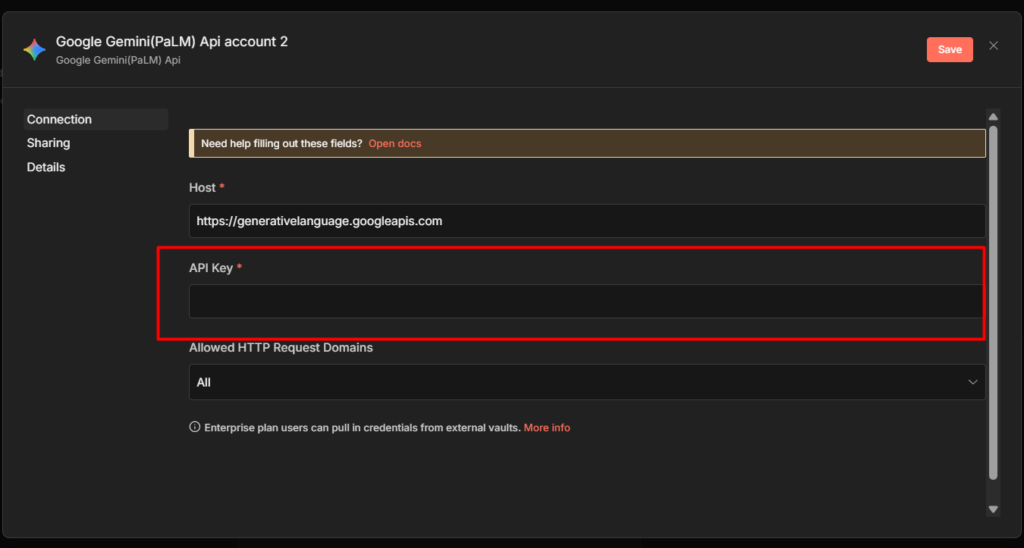
In n8n, Go to credentials, and add credentials – search for Telegram API.
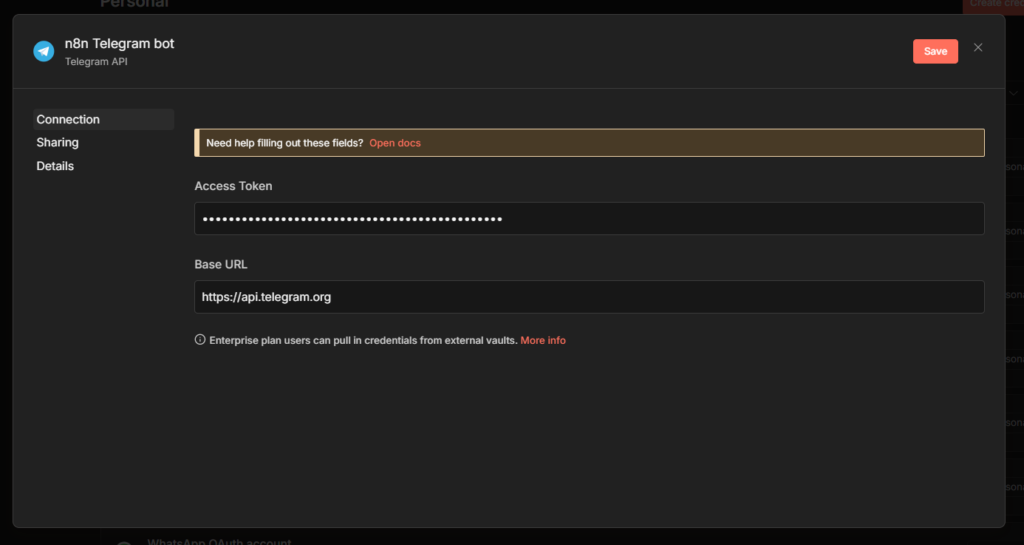
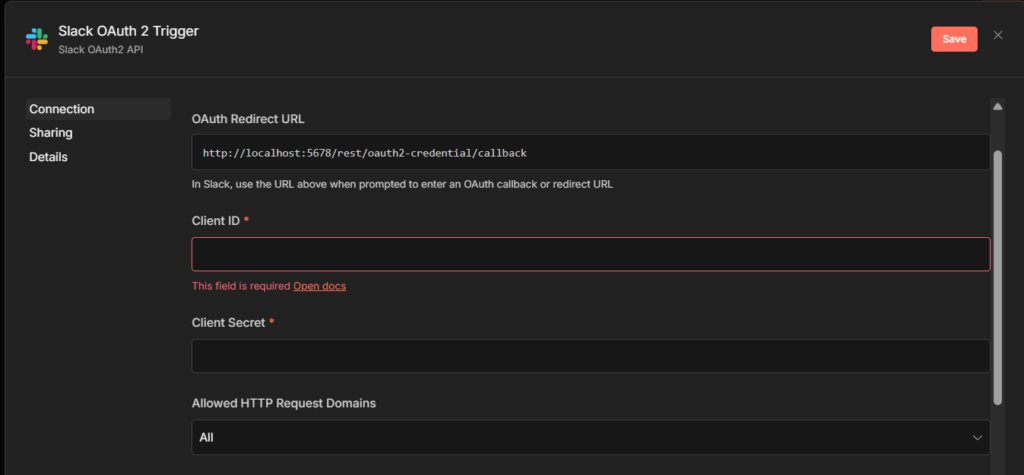
Paste your bot token into Access Token field. Give the credentials a clear name like My Telegram Bot so you can identify it later across multiple workflows. Save it, n8n tests the connection automatically.
Getting Your Chat ID
Almost every telegram node configuration requires a Chat ID. This is the unique identifier for the conversation your bot will send messages to. Your personal chat with the bot, a group or a channel.
The easiest way to get it, send your bot any message in Telegram, then open this URL in your browser (replace with your actual token)
https://api.telegram.org/bot<YOUR_TOKEN>/getUpdates
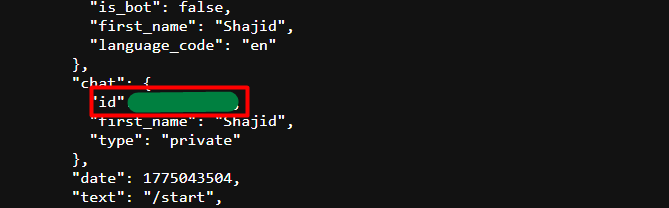
Look for the chat object in JSON response. The id field inside it is your Chat ID. For personal chats it’s positive number. For groups, prefix it with a - when you use it in n8n.
The other way is use the Telegram trigger node in n8n (Already covered in the Use Case 2) When a message comes in, it automatically provides the Chat ID in the output – no manual lookup needed though.
For more on setting up credential across different services. The n8n credentials guide covers the full process.
Use Case 1 – Sending Notification to Telegram
This is the most common setup. Something happens in another app, n8n sends you a Telegram message about it.
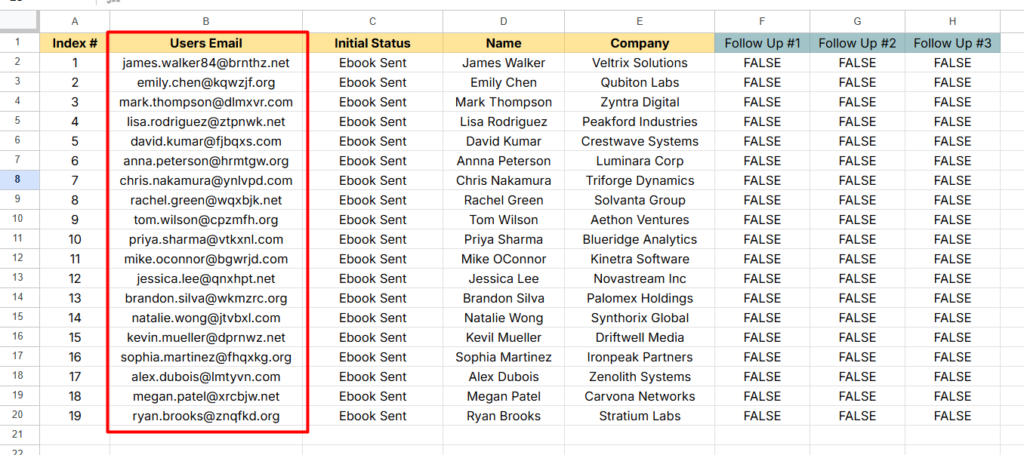
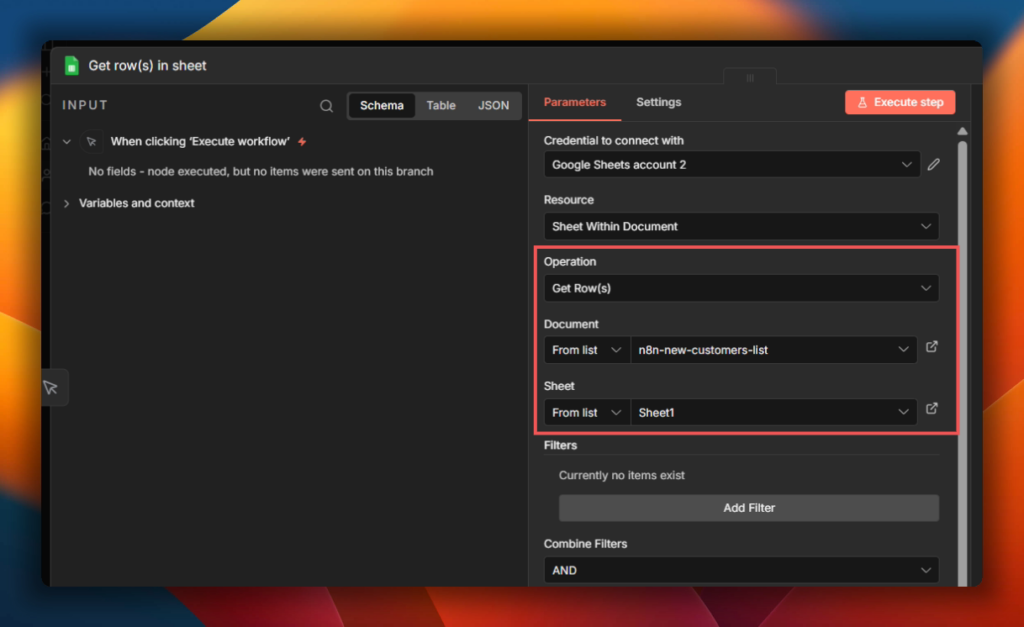
The example here is a Google Sheets row being added > Telegram alert. The trigger doesn’t matter much – you can swap it for a Schedule trigger, a Webhook, a Gmail trigger, anything. The Telegram node at the end works the same way regardless.
Step 1: Add Your Trigger
For this example, use simply manual trigger.
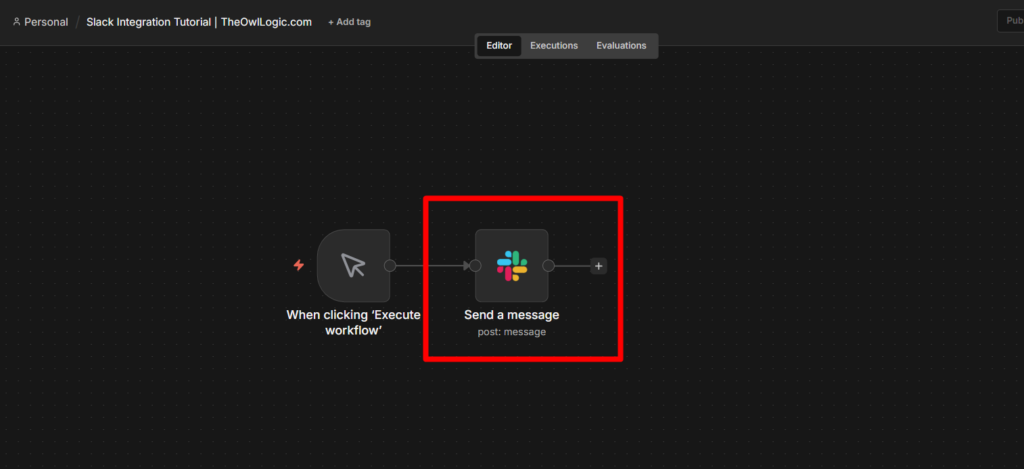
Step 2: Add the Telegram Node
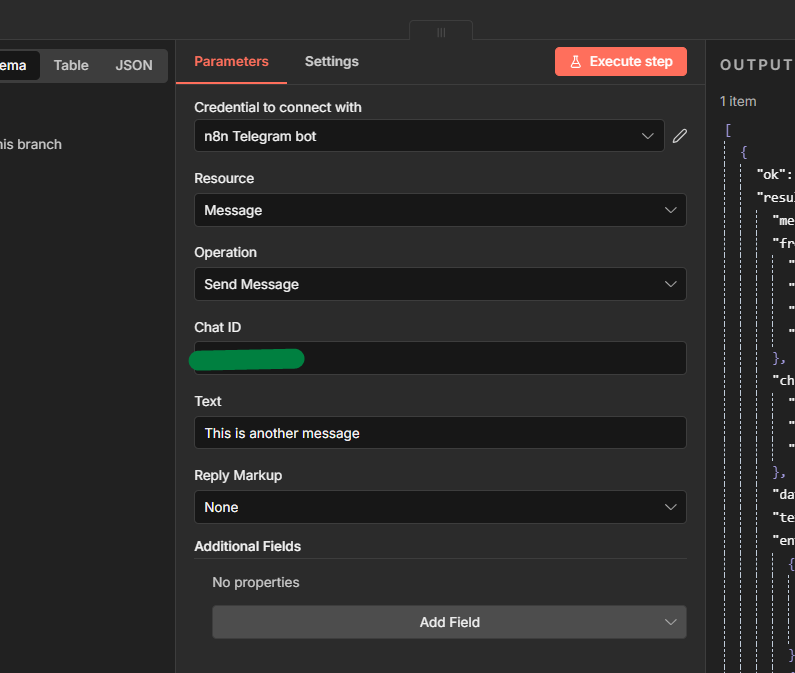
Click + after the trigger and search for Telegram. Select Send a Text Message.
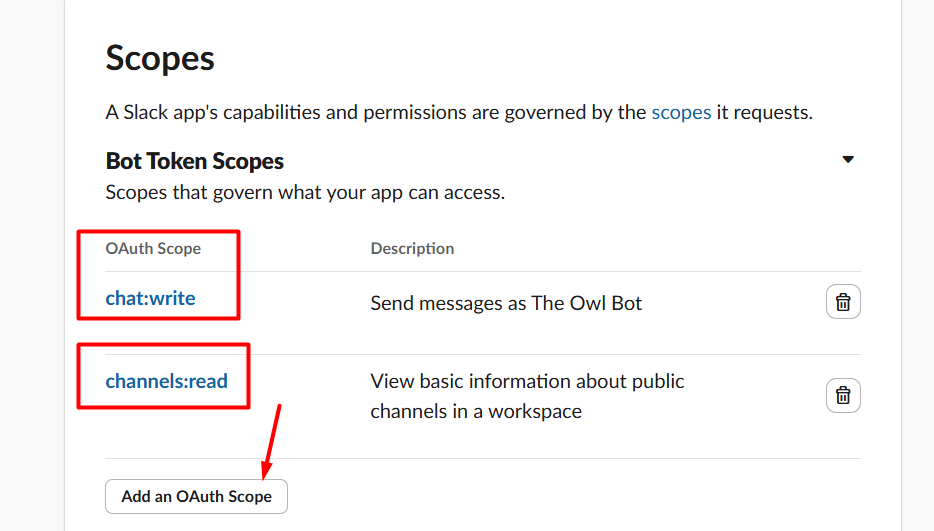
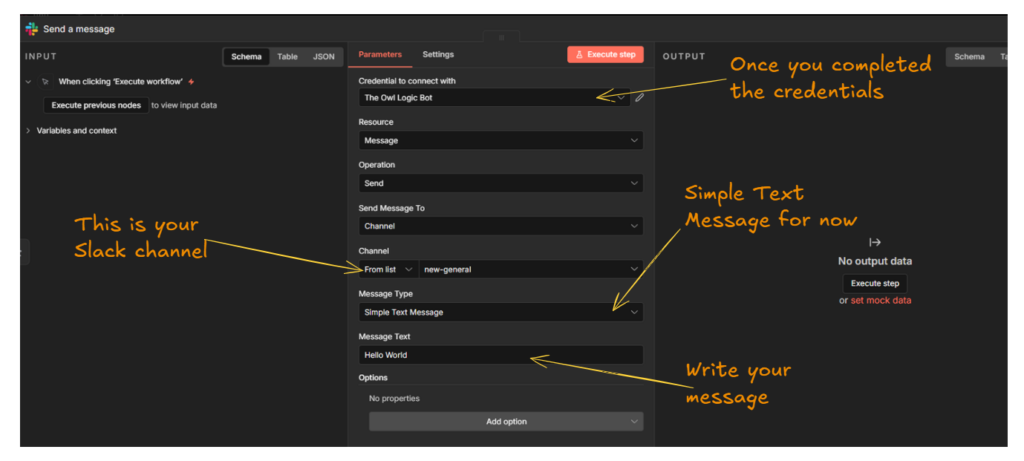
Configuration:
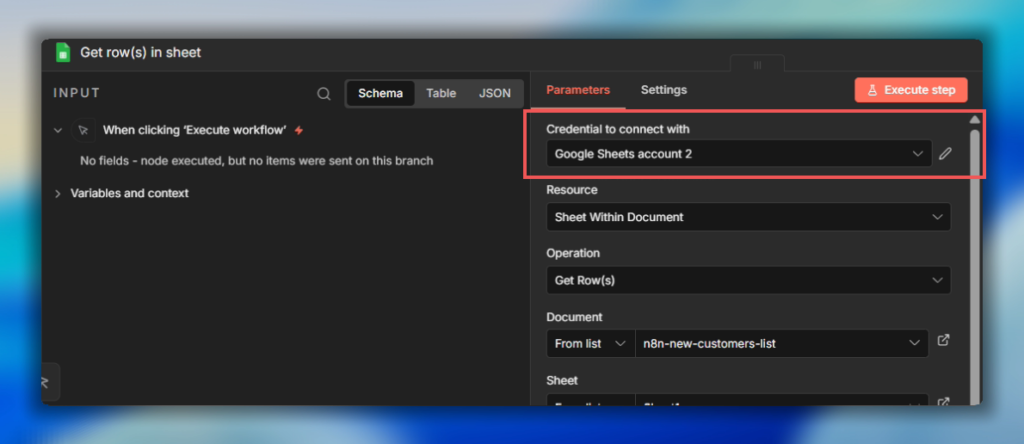
- Select the Telegram credential you created
- paste your Chat ID (the number you retrieved above)
- Write your message or maybe you can just pull the data from anywhere else.
Now you send messages to your bot.
Step 3: Turn Off the n8n Attribution
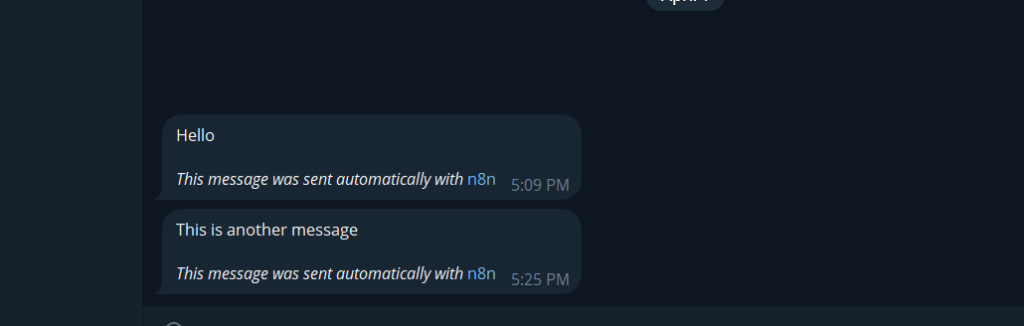
By default, n8n appends a small “This message was sent automatically via n8n” line to every telegram message. Most people don’t want that in production.
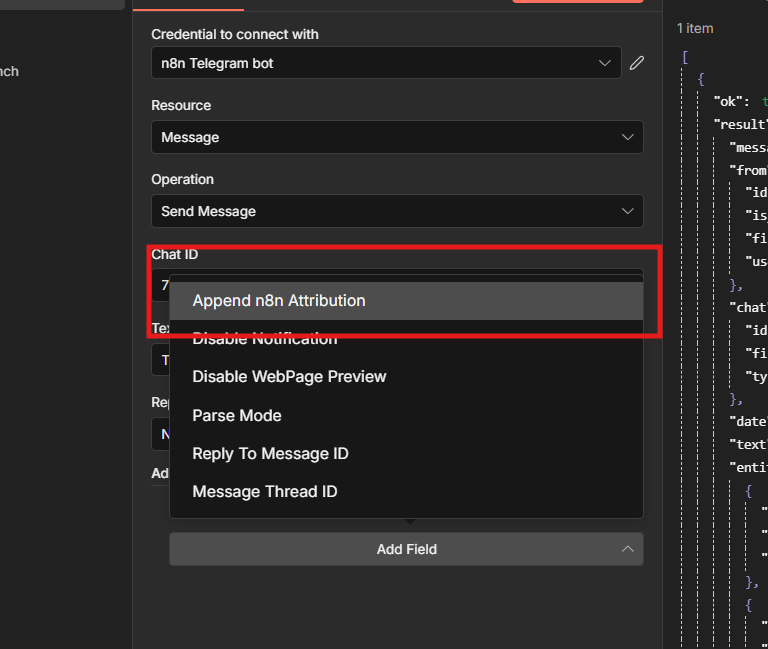
To remove it: Additional Fields > Add Field > Append n8n Attribution > toggle off.
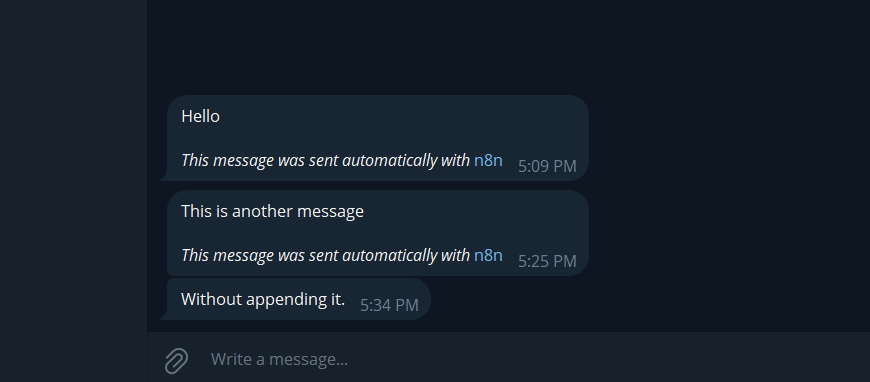
That’s the full outbound notification workflow. Trigger > Telegram Send message > done. Test it by executing the workflow manually and checking your telegram chat.
Use case 2 – Receive Messages and Respond
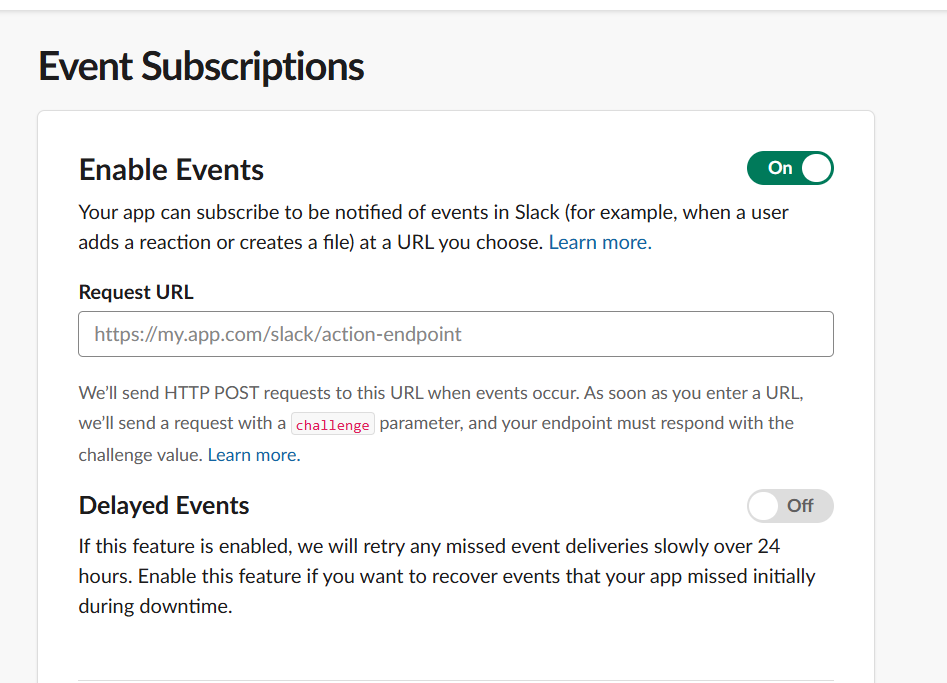
This flips the direction. Instead of n8n pushing messages out, Telegram messages come in and trigger your workflow. The Telegram trigger node listens for incoming messages via webhook that n8n registers automatically when you activate/publish the workflow.
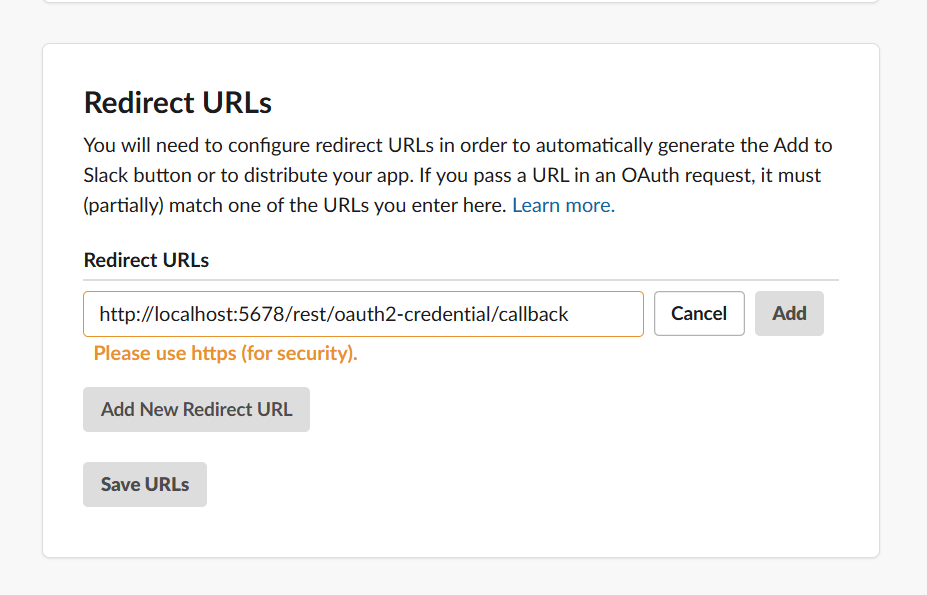
One important catch: If you’re using n8n cloud or self-hosting on a VPS, webhook works out of the box. But if you’re running n8n locally, Telegram can’t reach your machine from the internet. To solve this, you need to expose your localhost using a tool like ngrok, which creates a secured public tunnel. Just set the ngrok HTTPS URL as your webhook URL when starting n8n and the Telegram Trigger will work normally.
Read here: Webhooks in n8n explained
Here’s the configuration if you’re using locally hosted n8n with docker to expose Telegram Trigger.
- Make sure to read the Webhooks in n8n explained and understand the context of how Webhooks working in n8n
- Start ngrok in your terminal
ngrok http 5678 - Copy the HTTPS forwarding URL (e.g., `https://xxxx.ngrok-free.dev`)
- Stop your current n8n container
- Restart it with the
WEBHOOK_URLenvironment variable addeddocker run … --env=WEBHOOK_URL="https://xxxx.ngrok-free.dev" … n8nio/n8n
Once restarted, your Telegram Trigger webhook will register successfully. The free ngrok plan gives you a new URL every time you restart it. That means you need to update WEBHOOK_URL and restart your container each time.
Part A – Simple Reply Bot
This is a foundation workflow. Get this working first before we add any logic to it.
Step 1: Add the Telegram Trigger
Create a new workflow. Add a Telegram trigger node as first step.
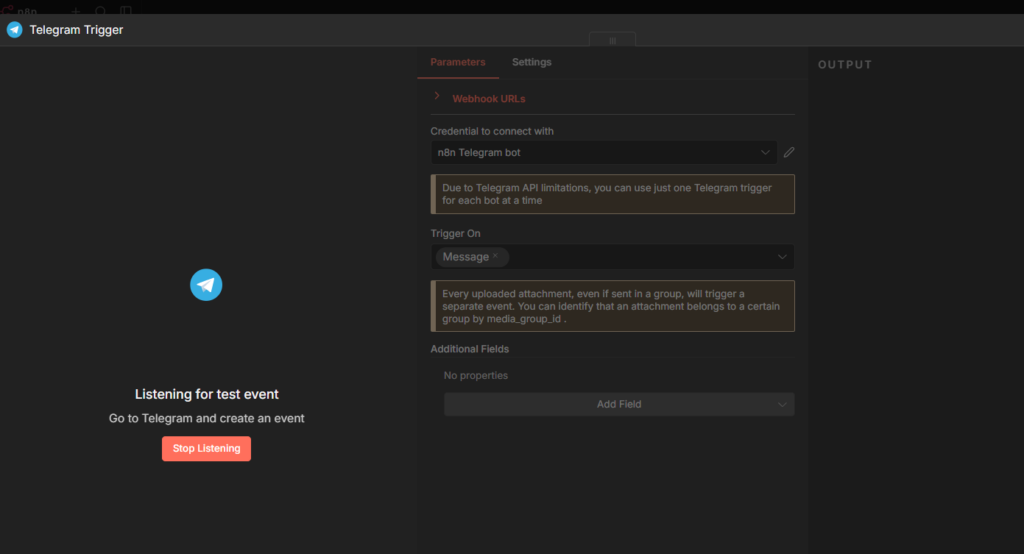
Configuration:
- Your telegram credentials
- Updates to watch, select Message
Click Listen for Test Event, then open telegram and send your bot any message, something like hello. The Telegram Trigger node will show the incoming payload in the output panel.
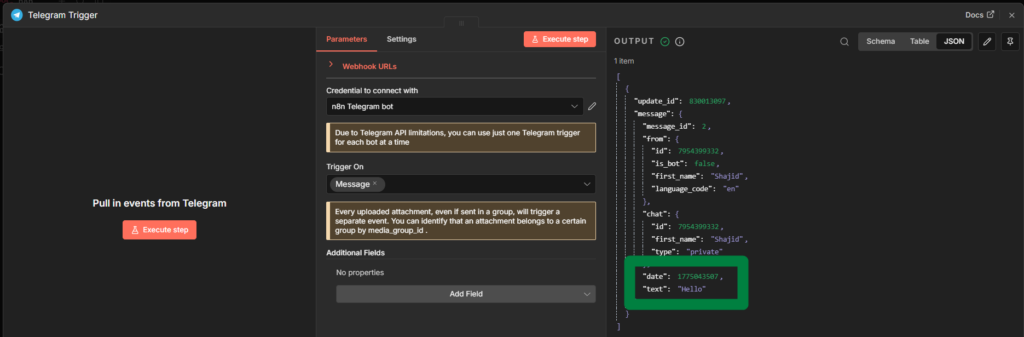
the two fields you’ll use constantly
chat.id – the chat ID of whoever sends the message
text – the actual message text they typed
The Chat ID from the trigger is dynamic – it automatically point back to the person who sent the message. You never need to hardcode Chat ID in a reply workflow.
Step 2: Add the Telegram Send Message Node
Click + after the trigger and add Telegram > Send message node.
Configuration:
- Your telegram credentials.
- Chat ID
- Text: whatever you want the bot to reply.
For a simple echo bot that repeats what user said
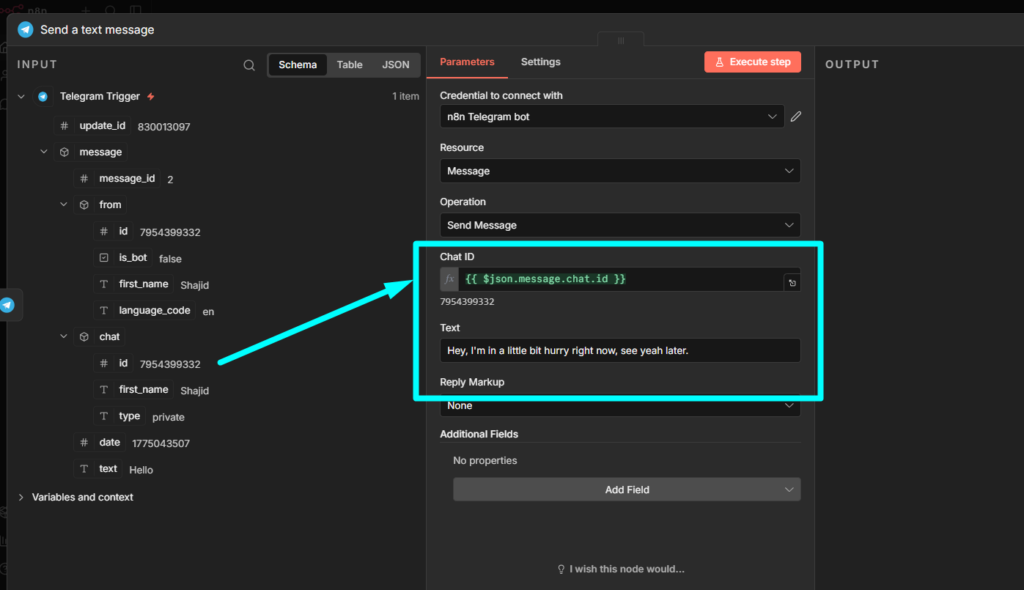
You said: {{$json.message.text}}
or a fixed response maybe, like “Thanks for your message, I’ll reply shortly”
Execute the workflow, send your bot a message in Telegram, and you should see the reply come back within a second or two. That’s the full loop. Receive, Process, Reply
Publish the workflow when you’re ready to go live. n8n registers the Telegram webhook automatically at that point.

Part B: Command Based Bot
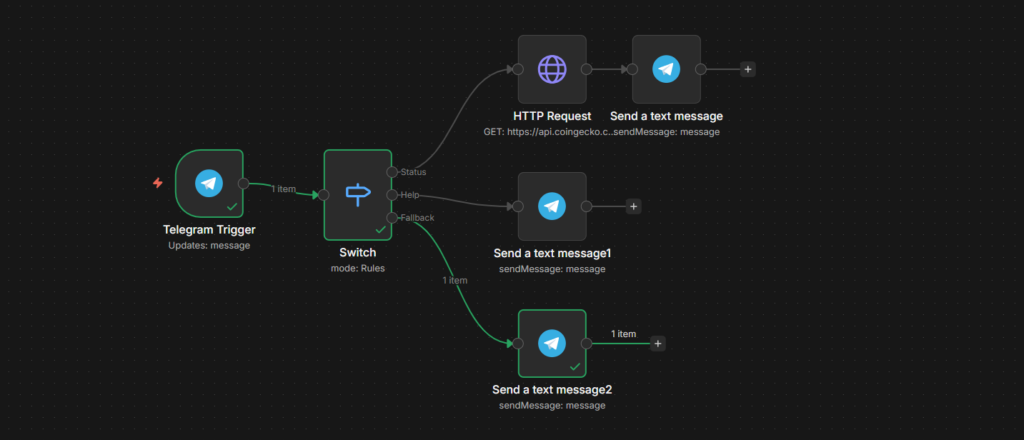
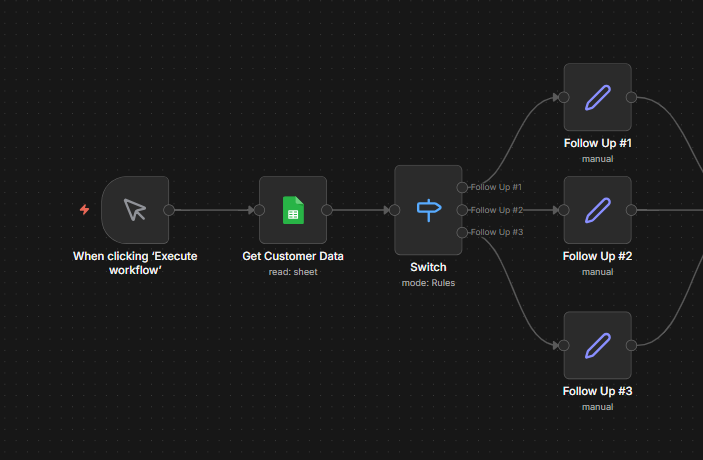
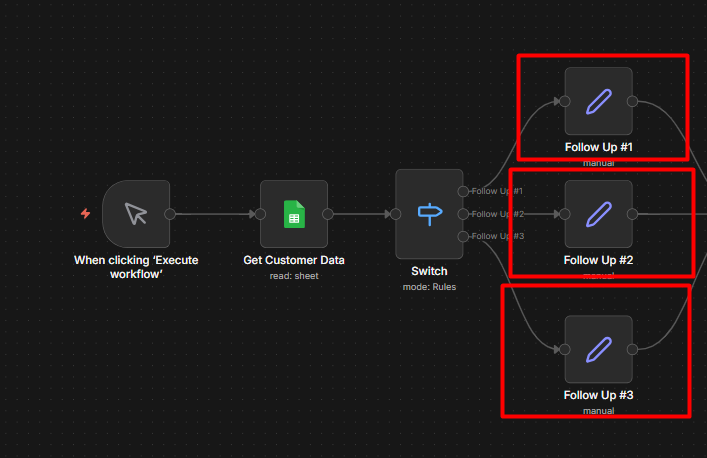
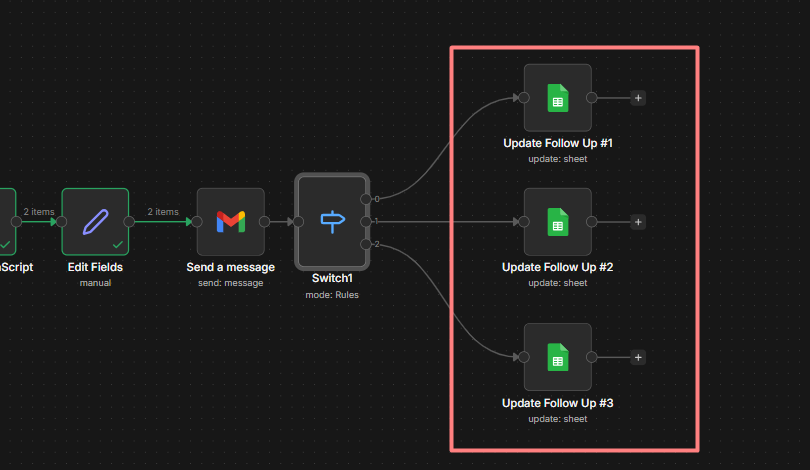
Now that part A works, extend it with a Switch node to route different commands to different actions. This is the pattern behind most real Telegram bots.
The idea: user sends /status or /help, the bot does something different for each.
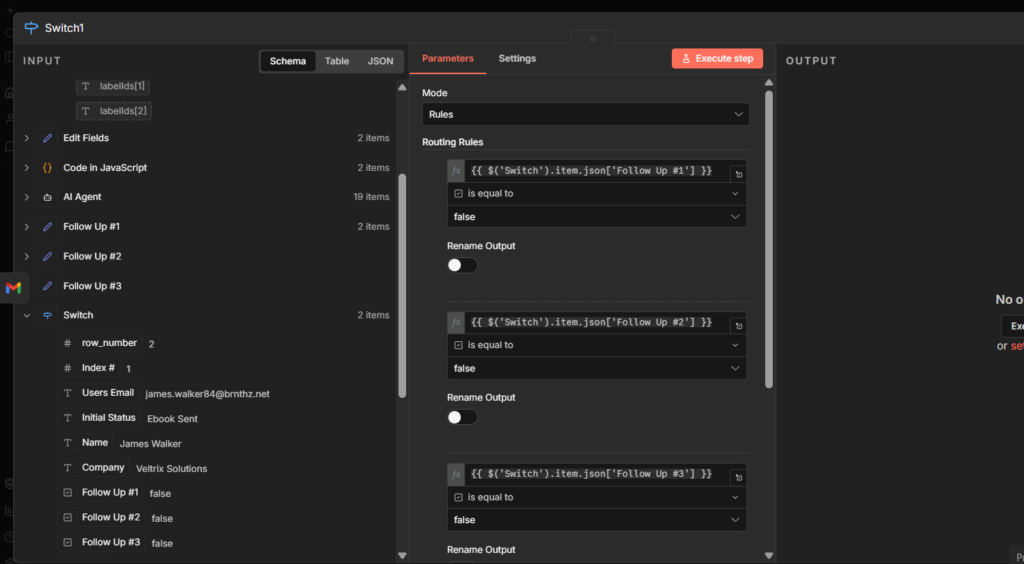
Step 1: Add a Switch Node
Insert a Switch Node between telegram trigger and send message node.
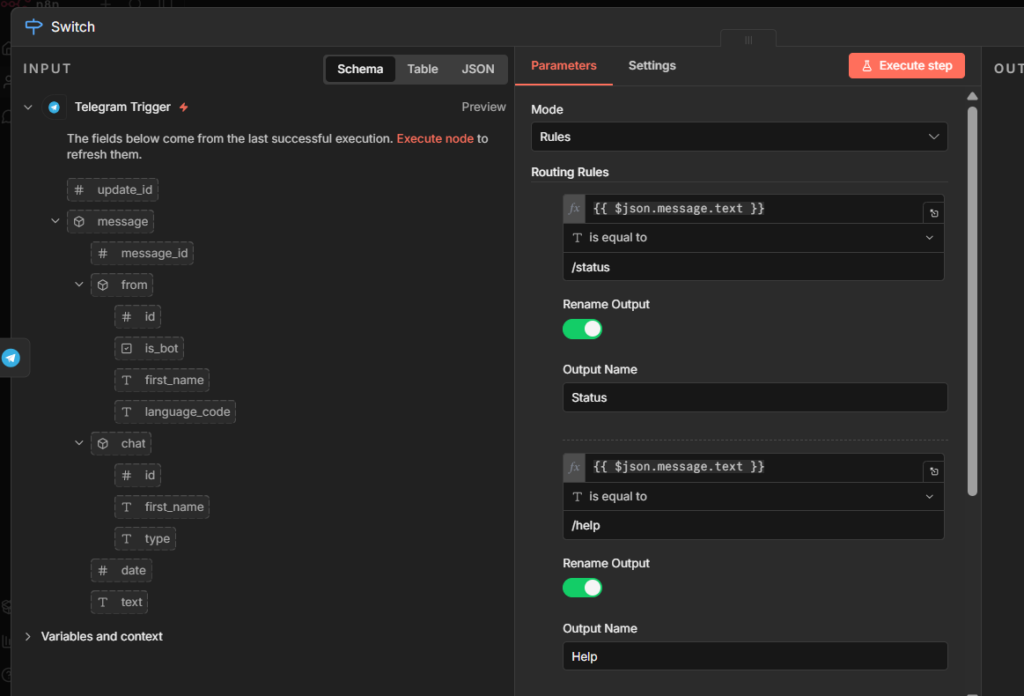
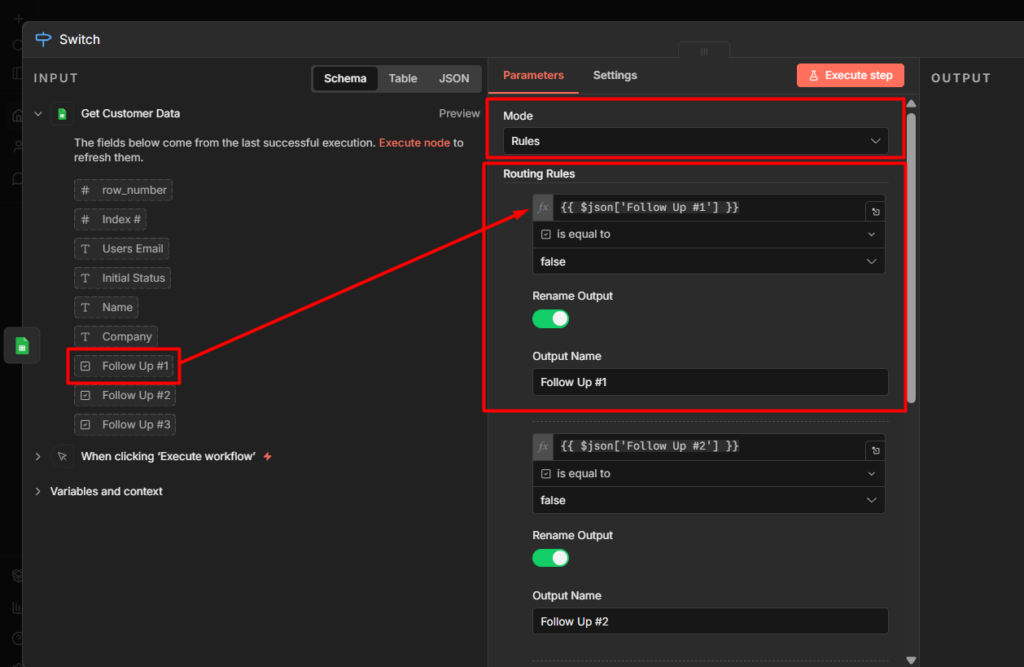
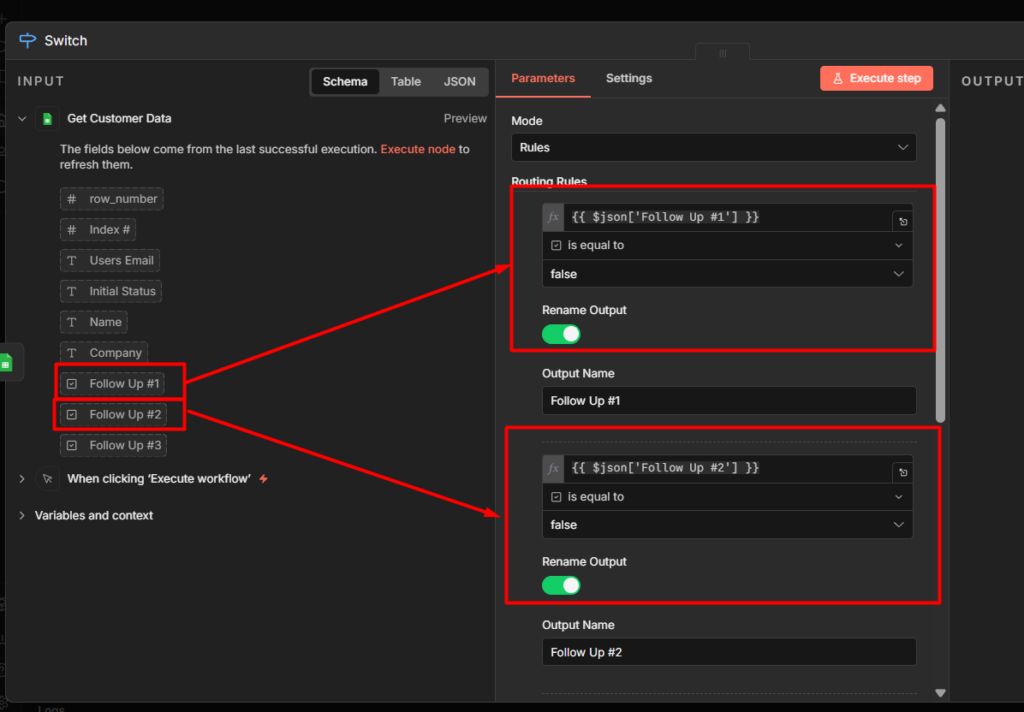
Set Mode to Rules – Add two rules.
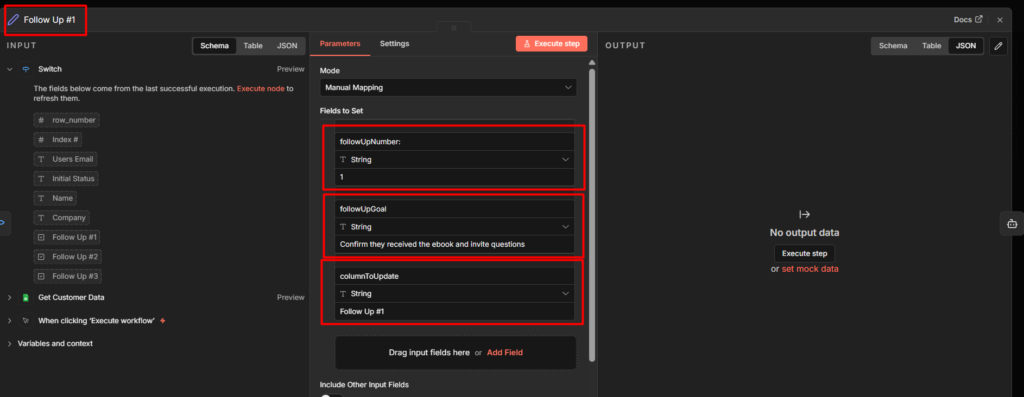
- Rule 1:
{{ $json.message.text }} equals /status– Output 1 - Rule 2:
{{ $json.message.text }} equals /help– Output 2
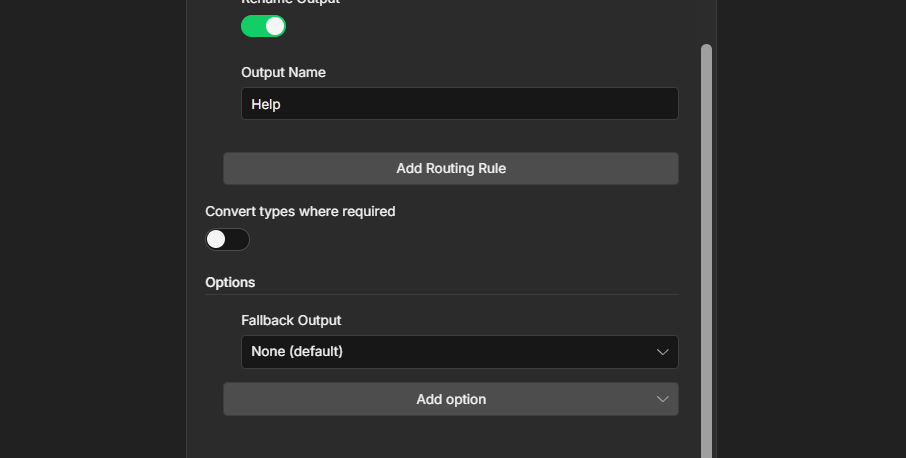
Add a third output for anything else. Set it as Fallback output. This catches messages that don’t match any command.
Read more
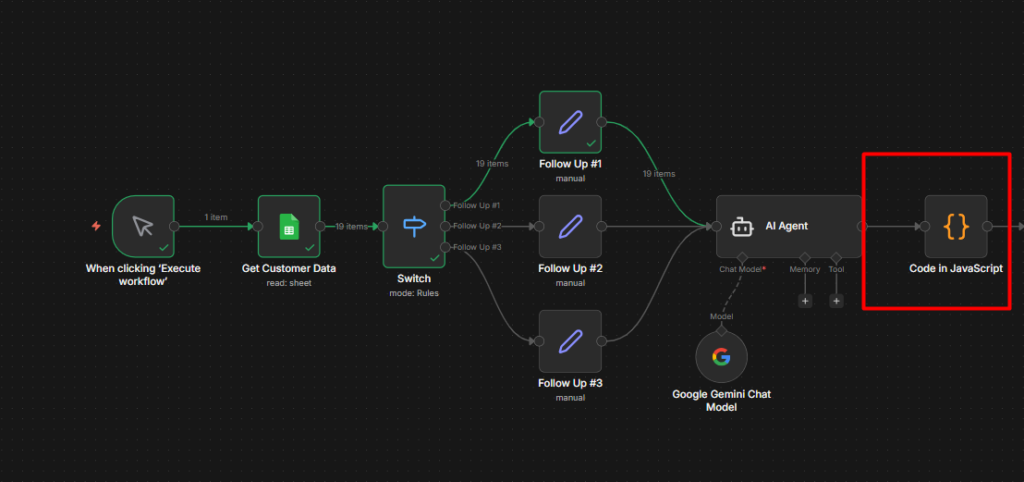
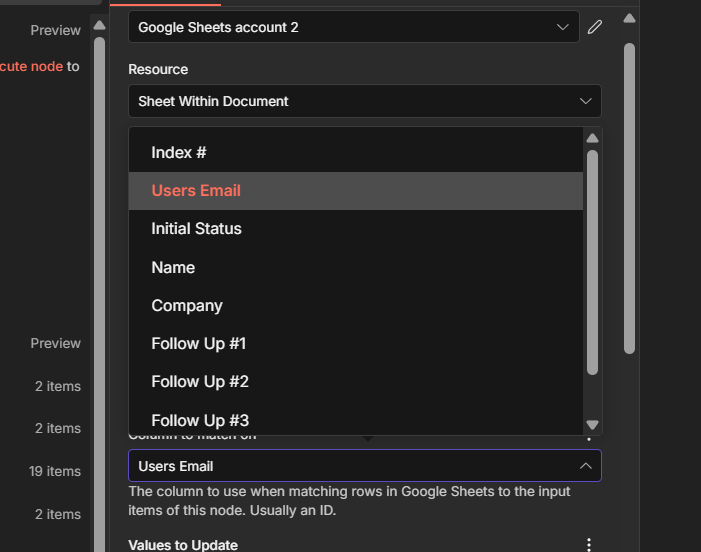
Step 2: Build the /status Route
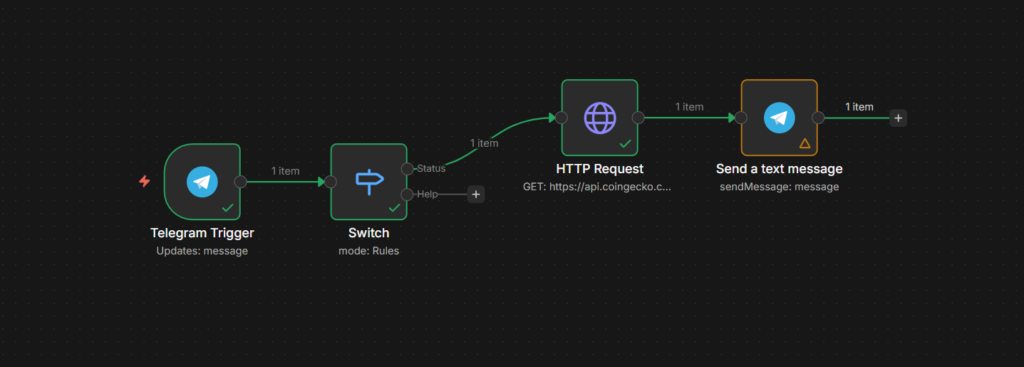
On the /status output, add an HTTP Request node. Point it any public API that returns useful data. A simple example – current bitcoin price.

Step 3: Build the /help Route
On the /help output, skip the HTTP request. Just add the Telegram send message node directly.
- Chat ID:
- Parse Mode: HTML
- Format your text
<b>Available commands:</b>

/status — get the current BTC price
/help — show this message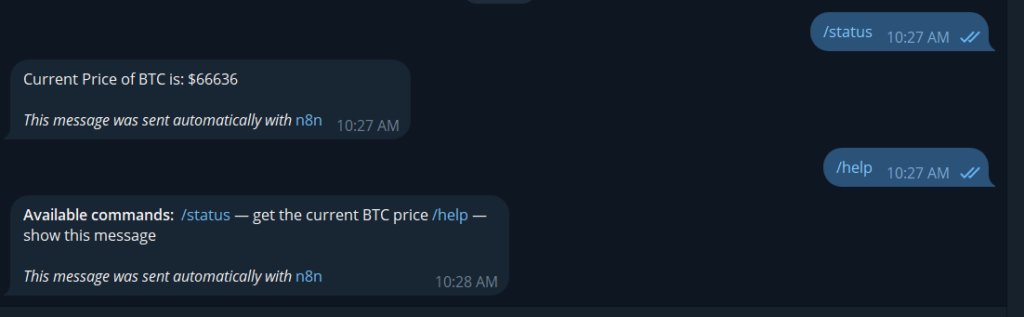
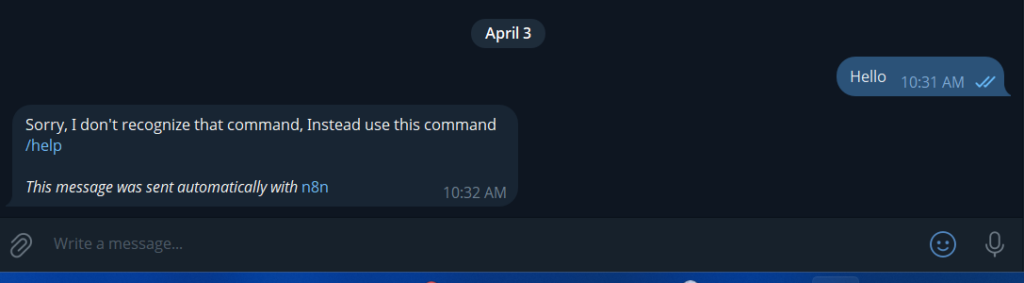
Step 4: Build the Fallback Route
On the fallback route, add a final Telegram send message node.
- Text:
Sorry, I don't recognize that command Send /help to see what I can do
Publish the workflow now, send /status to your bot – It should definitely respond with the price. Send /help – it should reply with the command list. Send anything else besides these commands, then it will send I don’t recognize it based on what you’re prompted on the fallback route.
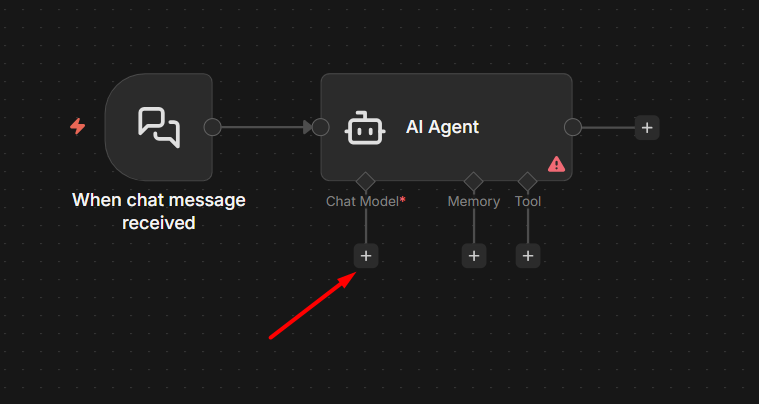
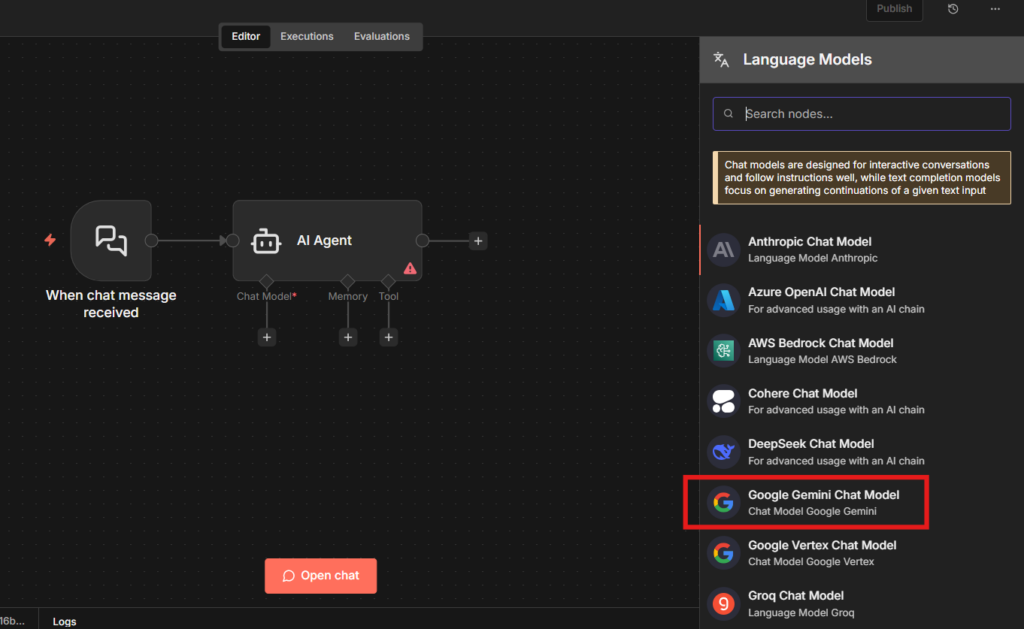
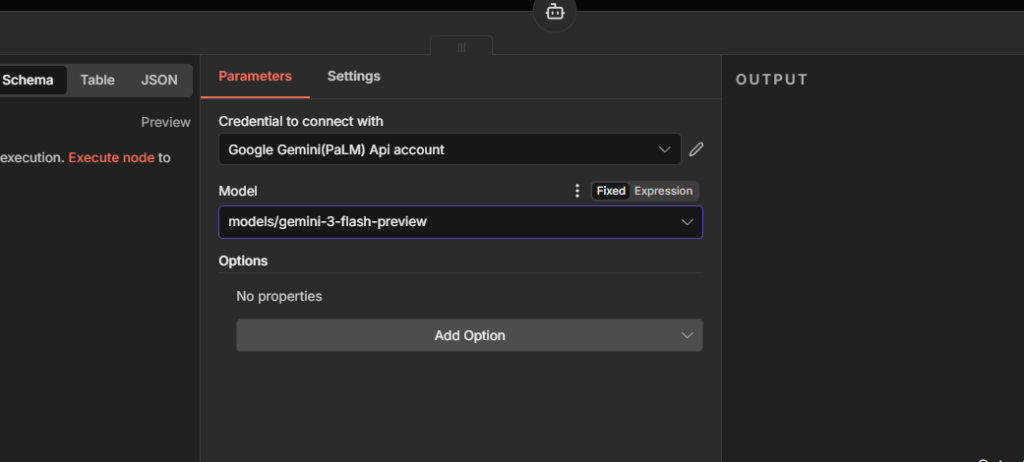
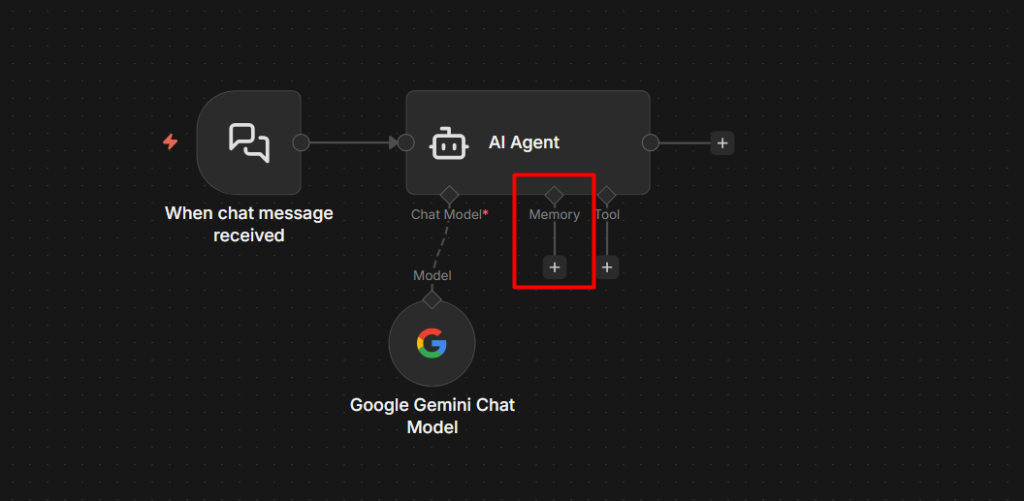
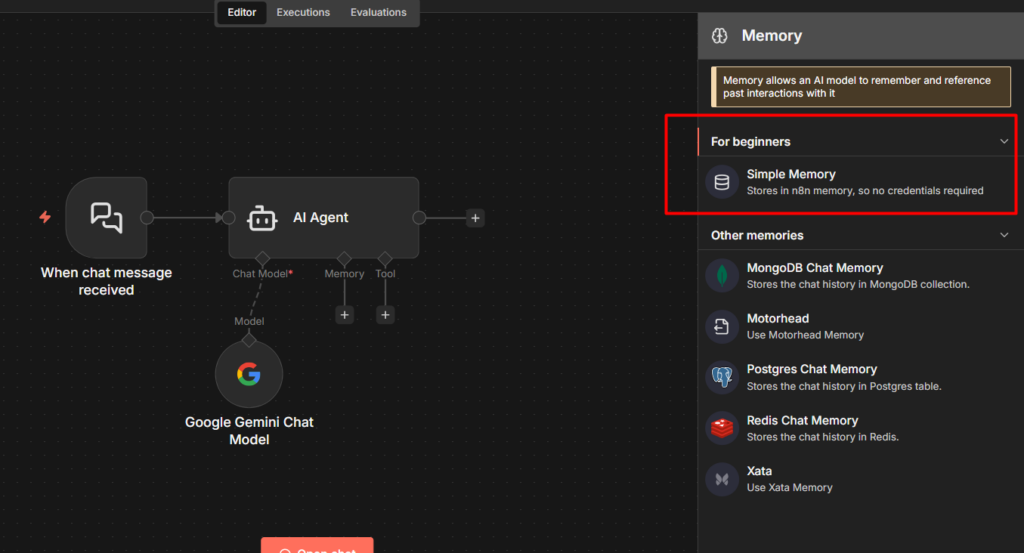
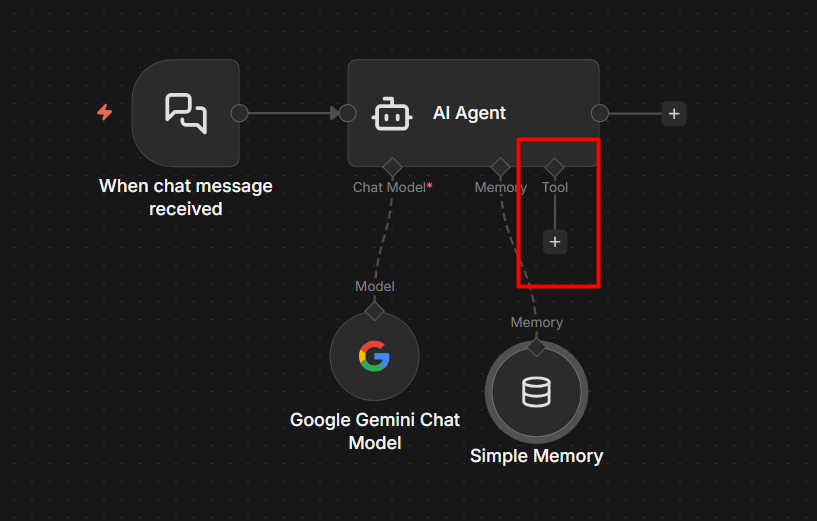
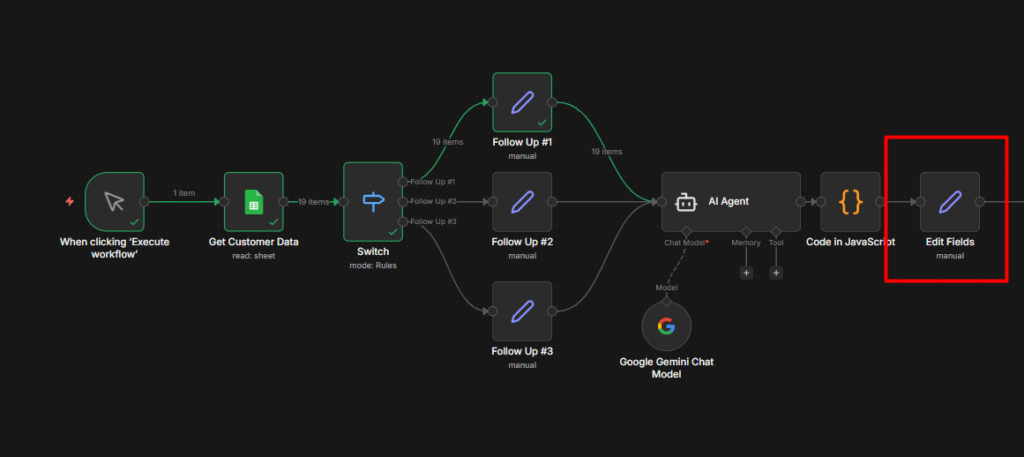
That’s working command-based bot. From here you can replace HTTP request with anything, a google sheet maybe, a database query or AI agent’s response. The Switch route – reply pattern will be same. If you want to just wire an LLM into one of the routes, check it out our AI Agent guide here – Shows exactly how to set that up
One Bot, One Active Webhook
- Telegram only allows one Webhook URL per bot at a time
- Two workflows using the same bot token = only the latest activated one receives the messages, other silently stops without any errors
- As a fix: Use a single active Telegram Trigger and route logic inside it using IF or Switch nodes.
- Need separate workflows? Create separate bots in BotFather, each with it’s token.
Telegram Trigger Stuck or Not Firing (self-hosted n8n)
- Telegram Trigger uses webhooks; Telegram’s servers must reach your n8n instance via a public HTTPS URL
- Running locally or behind a reverse proxy without HTTPS/Websocket support = Trigger silently fails or get stuck
- This is a network config issue, not Telegram one. Check your webhook setup and ensure HTTPS is properly configured
Let’s Wrap This Up,
Telegram and n8n is one of those combinations that just works.
You get a free, reliable messaging layer on top of any automation you build, without dealing with email deliverability, app push notification complexity, or paid SMS services.
Start simple. Get the outbound notification working first, send yourself an alert from a trigger you actually use. Then move to the reply bot once that feels solid.
The command based pattern in Part B scales further than it looks. Most production bots are just that same Switch node pattern with more routes and smarter logic behind each one.
The only real friction is the webhook setup on localhost, and now you know exactly how to handle that with ngrok and the Docker environment variable approach.
From here, the natural next step is wiring an AI agent into one of your bot routes so it can handle freeform questions, not just fixed commands. That turns a simple command bot into something that feels genuinely intelligent to whoever is using it.